
Rice cooker switch problems can stop cooking completely and create daily frustration. Learning how to repair rice cooker switch problem helps fix common issues like stuck buttons, loose switches, or cook mode failures. Many problems come from dirt buildup, damaged springs, or loose wiring. Simple repair steps and regular cleaning can keep the rice cooker working smoothly for years.
Common Signs of a Rice Cooker Switch Problem
Rice cooker switch problems usually start with small warning signs. Ignoring them can lead to bigger electrical damage later.
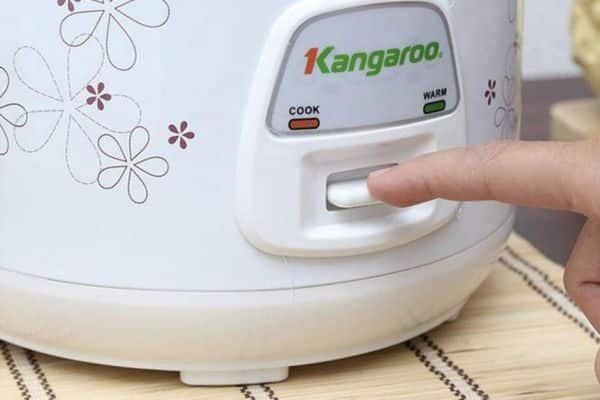
Rice Cooker Does Not Stay in Cook Mode
The switch drops back up right away after pressing it down. This often happens because of a weak magnet, damaged spring, or dirty internal parts.
Rice Cooker Will Not Turn On
A broken switch connection may stop power from reaching the heating plate. Loose wires inside the cooker can also cause this issue.
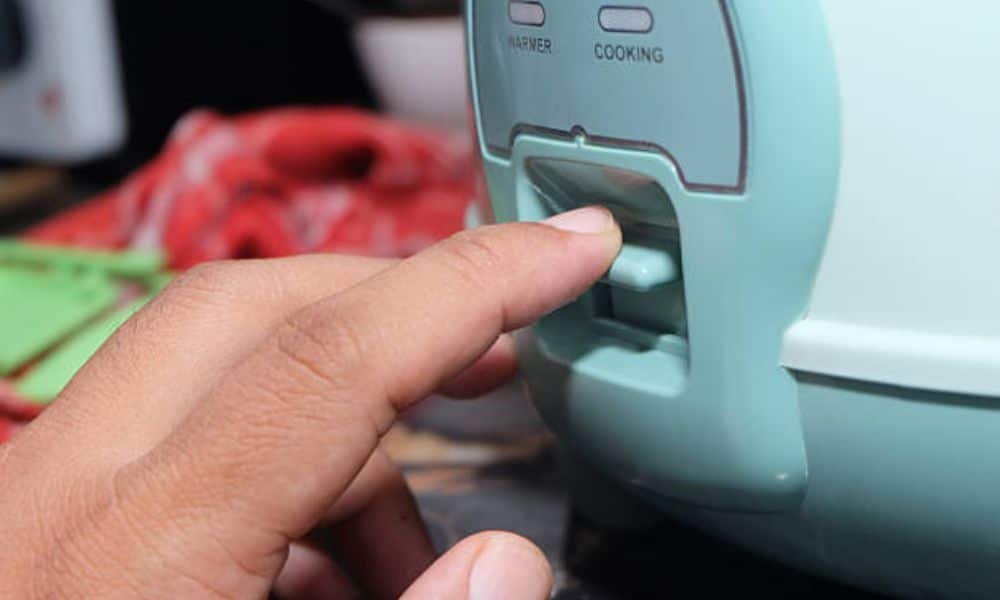
Switch Feels Loose or Stuck
The switch may feel soft, jammed, or difficult to press. Grease, dust, or burned plastic around the mechanism often causes this problem.
Rice Cooker Switches to Warm Too Fast
The cooker may stop cooking before the rice finishes. A faulty thermostat or weak magnetic switch can trigger early warm mode.
Why Rice Cooker Switch Problems Happen
Understanding the cause makes the repair process easier and safer.
Dirt and Food Debris
Rice grains and moisture sometimes fall under the inner pot. Over time, dirt blocks the switch mechanism and prevents proper movement.
Burned Electrical Contacts
Frequent use can wear out the electrical contact points inside the switch assembly. Heat damage slowly weakens the connection.
Damaged Spring Mechanism
The spring inside the switch helps lock the cooker into cook mode. A weak or broken spring causes the switch to pop up immediately.
Loose Internal Wiring
Movement and heat can loosen wire connections over time. A disconnected wire may completely stop the switch from working.
Faulty Thermostat
The thermostat controls cooking temperature. A damaged thermostat can force the cooker into warm mode too early.
Tools Needed to Repair Rice Cooker Switch Problem
Basic household tools are enough for most rice cooker repairs.
- Screwdriver set
- Soft cleaning brush
- Dry cloth
- Multimeter
- Electrical tape
- Needle nose pliers
- Replacement switch or spring
- Small flashlight
Always unplug the cooker before opening any parts.
Safety Tips Before Starting Repair
Electrical appliances can be dangerous without proper care. Safety should always come first.
Disconnect Power Completely
Never repair a rice cooker while plugged into an outlet. Wait several minutes before touching internal parts.
Keep Water Away
Wet hands increase electrical shock risk. Make sure the cooker is fully dry before opening it.
Use Proper Tools
Metal objects with damaged handles may cause accidents. Use insulated tools designed for electrical work.
Avoid Touching Heating Components
The heating plate and thermostat remain hot for some time after use. Let the cooker cool fully before repair.
How To Repair Rice Cooker Switch Problem Step by Step

Most switch repairs follow a simple process. Careful inspection usually reveals the main issue.
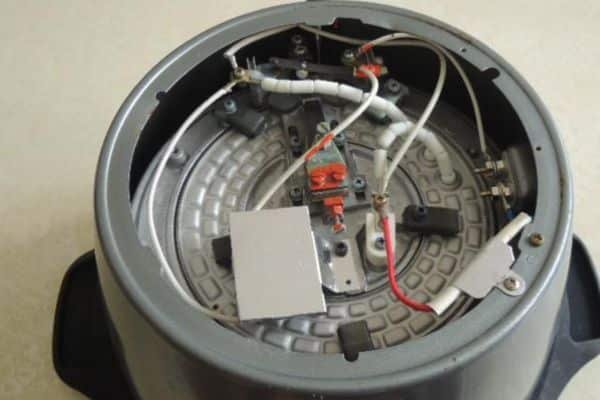
Step 1: Remove the Bottom Cover
Turn the rice cooker upside down carefully. Remove the screws holding the bottom panel in place.
Place the screws in a small container to avoid losing them.
Inside the cooker, the switch assembly sits near the heating plate.
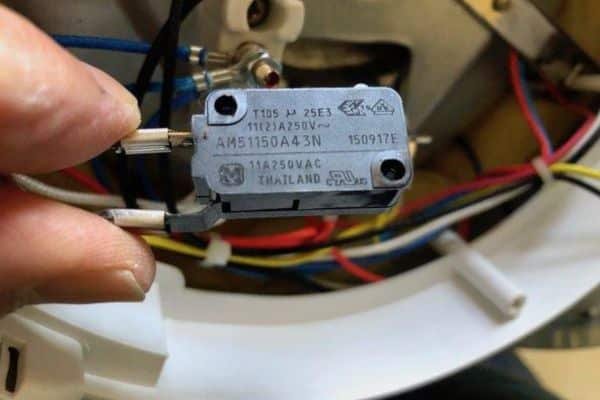
Step 2: Inspect the Switch Assembly
Check the switch for dirt, grease, or burned marks.
A dirty switch often causes sticking problems. Burn marks may point to electrical failure.
Look closely at the spring and moving lever.
Step 3: Clean the Switch Area

Use a dry brush or cloth to remove dust and food particles.
Avoid using water directly on electrical components.
Compressed air also helps remove hidden debris around the switch mechanism.
Many rice cooker switch problems disappear after simple cleaning.
Step 4: Check Wire Connections
Loose wires often prevent the switch from working properly.
Gently inspect each wire attached to the switch assembly.
Reconnect any loose wires carefully using pliers.
Wrap damaged wire insulation with electrical tape.
Step 5: Test the Switch with a Multimeter
A multimeter checks whether electricity flows through the switch correctly.
Set the meter to continuity mode.
Press the switch while testing the terminals.
No continuity usually means the switch needs replacement.
Step 6: Repair or Replace the Spring
A weak spring may stop the cooker from locking into cook mode.
Carefully remove the damaged spring.
Install a matching replacement spring in the same position.
Test the switch movement before reassembling the cooker.
Step 7: Replace the Faulty Switch
Some switch assemblies become too damaged for repair.
Disconnect the wires attached to the old switch.
Install the new switch carefully.
Reconnect the wires exactly as before.
Tighten all screws securely.
Step 8: Reassemble the Rice Cooker
Place the bottom cover back onto the cooker.
Tighten all screws evenly.
Plug the cooker in and test the switch.
The switch should stay down smoothly during cooking.
How To Fix Rice Cooker Switch Not Staying Down
This is one of the most common rice cooker switch problems.
Check the Magnet
Rice cookers use a small magnet to hold the switch during cooking.
A weak magnet may fail to lock properly.
Replacing the magnetic thermostat often solves this issue.
Inspect the Heating Plate
The inner pot must sit flat against the heating plate.
Bent or dirty plates affect heat detection and switch performance.
Clean the plate gently using a dry cloth.
Examine the Inner Pot
Warped inner pots can confuse the thermostat system.
The cooker may switch to warm mode too early.
Replacing the damaged pot often fixes the problem.
How To Prevent Rice Cooker Switch Problems
Good maintenance helps avoid future repairs.
Clean the Cooker Regularly
Food debris under the pot slowly damages internal parts.
Wipe the heating plate and switch area after every use.
Avoid Slamming the Switch
Press the switch gently instead of forcing it down.
Rough handling weakens the internal mechanism over time.
Keep the Cooker Dry
Moisture inside the cooker may damage electrical contacts.
Dry the inner pot fully before placing it back inside.
Use the Correct Voltage
Wrong voltage can overheat the switch system.
Always follow the voltage recommendation listed on the appliance label.
When To Replace the Entire Rice Cooker
Some older rice cookers cost more to repair than replace.
Replacement may be the better option in these situations:
- Burned internal wiring
- Melted plastic housing
- Severe electrical smell
- Repeated switch failures
- Broken heating element
Modern rice cookers also offer better energy efficiency and safer electrical systems.
Common Mistakes During Rice Cooker Repair
Small mistakes can create bigger problems later.
Mixing Up Wire Positions
Incorrect wire placement may damage the cooker completely.
Take photos before disconnecting any wires.
Using Water for Cleaning
Water around electrical parts increases shock risk.
Always use dry cleaning methods inside the cooker.
Tightening Screws Too Hard
Overtightened screws can crack plastic parts.
Tighten gently but securely.
Ignoring Burn Smells
Burn smells may point to deeper electrical problems.
Stop using the cooker until the issue is fully fixed.
Frequently Asked Questions
Why does the rice cooker switch keep popping up?
A weak magnet, damaged spring, or faulty thermostat usually causes this issue.
Can a rice cooker switch be replaced?
Yes. Most rice cooker switches are replaceable using basic tools.
Is repairing a rice cooker safe?
Simple repairs are usually safe after disconnecting power completely.
Why does the rice cooker go to warm mode too early?
A damaged thermostat or uneven heating plate often causes early warm mode.
How long does a rice cooker switch last?
Most switches last several years with proper cleaning and careful use.
Final Thoughts
Learning how to repair rice cooker switch problem helps extend the life of the appliance and saves repair costs. Many switch issues come from dirt buildup, weak springs, or loose wires. Simple cleaning and careful inspection often solve the problem quickly.
Safe handling matters during every repair step. Unplugging the cooker, using dry tools, and checking wire connections carefully can prevent accidents. Regular cleaning and gentle use also help avoid future switch damage.
A properly working rice cooker switch keeps cooking smooth, fast, and stress free every day.