

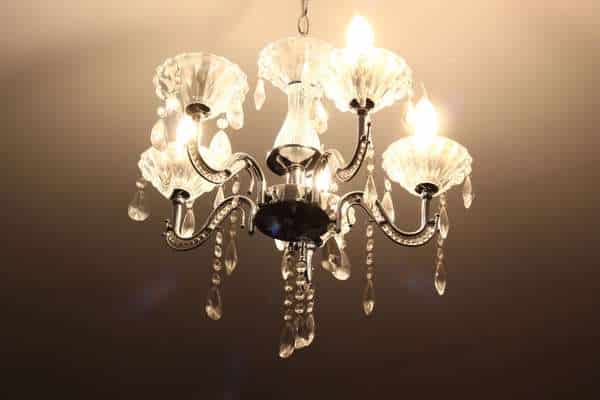
Upward-facing chandeliers provide a great source of light and can be used to create dramatic lighting effects. However, many people find it difficult to change upward facing chandelier bulbs when the time comes. With the right tools and knowledge, it’s quite easy to change the bulbs and give your chandelier a new look. In this article, we’ll provide you with step-by-step instructions on how to go about changing the bulbs in your chandelier safely and efficiently.
Safety Considerations

Changing the bulbs in an upward-facing chandelier is a task that requires careful consideration in order to ensure the safety of all involved. This task needs to be handled with caution, as falling from ladders or ceilings and electrocution are potential risks.
Before beginning any project involving electrical wiring. It is important to make sure that all power sources have been turned off completely. Any exposed wires should be insulated for extra protection against accidental shock or fire hazards. Once these precautions have been taken, it is safe to begin unscrewing the old lightbulb and replacing it with a new one of similar wattage and size.
Gather Necessary Tools

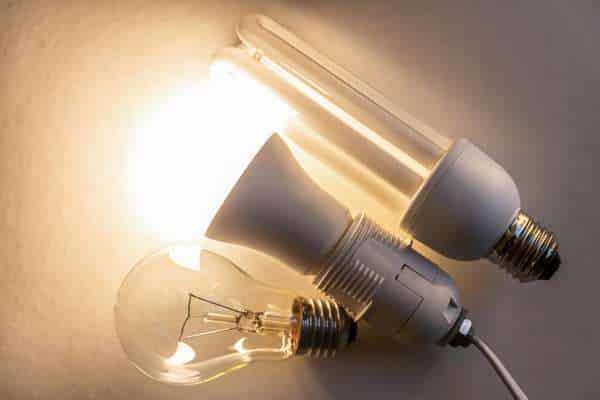
Start by gathering some basic tools: a stepladder, Phillips head screwdriver, cloth gloves for handling the hot bulb and extra bulbs for replacing those that have gone out. Bulbs come in many shapes and sizes. So make sure you know what type of bulb is needed before going to the store. Also bring along any documents that came with your chandelier—some models require special bulbs not readily available to consumers.
Preparing the Ladder

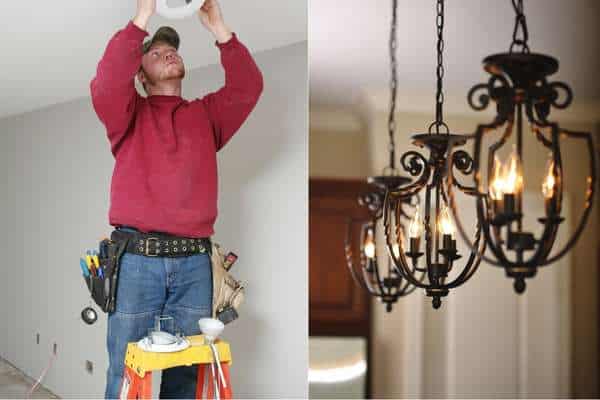
First, select the right type of ladder for the job. A tall step stool with a handrail will work best for this task as it can be adjusted to reach varying heights. Be sure that any ladders used are rated for the weight of whoever will be climbing them. Overloading may cause instability or collapse. Second, make sure that the ladder is placed correctly. No more than one foot away from any walls, and placed on solid ground free of debris or slippery surfaces.
Disconnecting Power

To begin, you will need to disconnect the power source from the light fixture before attempting any sort of bulb replacement. This involves shutting off power to the fixture by flipping your home’s circuit breaker switch or unplugging it from an outlet. Afterwards, a stepladder should be used to reach up into your chandelier and remove any bulbs that need replacing. When finished, screw in new bulbs in their place with each having the same wattage as their predecessors.
Use the Bulb Grabber
Changing a chandelier bulb can sometimes be a difficult task. It involves moving around furniture, ladders and other obstacles to get the job done. But with the Bulb Grabber, changing your upward facing chandelier bulbs can be easier than ever. The Bulb Grabber was invented to provide an easier way for people to reach their light fixtures. Without having to move large pieces of furniture or use risky ladders.
The Bulb Grabber is a tool that is designed specifically for changing chandelier bulbs from below. It features a long handle that extends up to 9 feet with an extra-long neck and suction cup on the end so you can easily grab and change those hard-to-reach tubers without any hassle or risk of injury.
Removing Old Bulbs

Start by shutting off all electricity going into the fixture. You’ll want to take extra precaution and make sure there isn’t any current running through it before getting started. Next, unscrew each bulb cap by hand, taking note of which one is where in the chandelier so you can easily figure out where each new bulb should go when replacing them later on. Once all of the caps have been removed, use a soft cloth or rag to carefully hold each individual bulb in order to avoid breaking any glass as they are taken out. Finally, store the used bulbs separately so that they do not get mixed up with their replacements when putting everything back together.
Test & Replace light Fixtures
The first step is to make sure you have the right type of bulb for your fixture. Purchasing the wrong size or wattage can cause serious damage and should be avoided at all costs. Generally speaking, LED bulbs are a good choice for this type of lighting because they don’t generate too much heat and typically last longer than traditional incandescent light bulbs. Once you have the correct bulb, turn off power to your fixture before beginning any work on it to avoid potential electrical shocks or fires.
Now Install New Bulb
To start, make sure that the power to your fixture is cut off at the circuit breaker. And allow ample time for the light to cool before attempting installation. Use a ladder if needed and gently remove each of the old bulbs from their sockets by turning them counterclockwise. Make sure to match up wattage on the new bulbs with what was used in the fixture previously and then twist them clockwise into place before restoring power at the circuit breaker.
Conclusion
Changing upright-facing chandelier bulbs is a relatively simple task. As long as you have the right tools and step-by-step instructions. Be sure to take necessary precautions like turning off the power to the fixture and handling the tuber carefully. It’s also important to remember to buy the correct size of bulb for your particular fixture. With these tips in mind, changing your chandelier tuber will be an easy and stress-free process.