
Changing out an outdoor faucet can seem like an intimidating task, but with the right materials and guidance it’s actually quite easy. Replacing an outdoor faucet can be a great way to update the look of your home without spending a fortune on professional services. To help you get started, this article provides step-by-step instructions on how to replace an outward faucet in just a few simple steps.
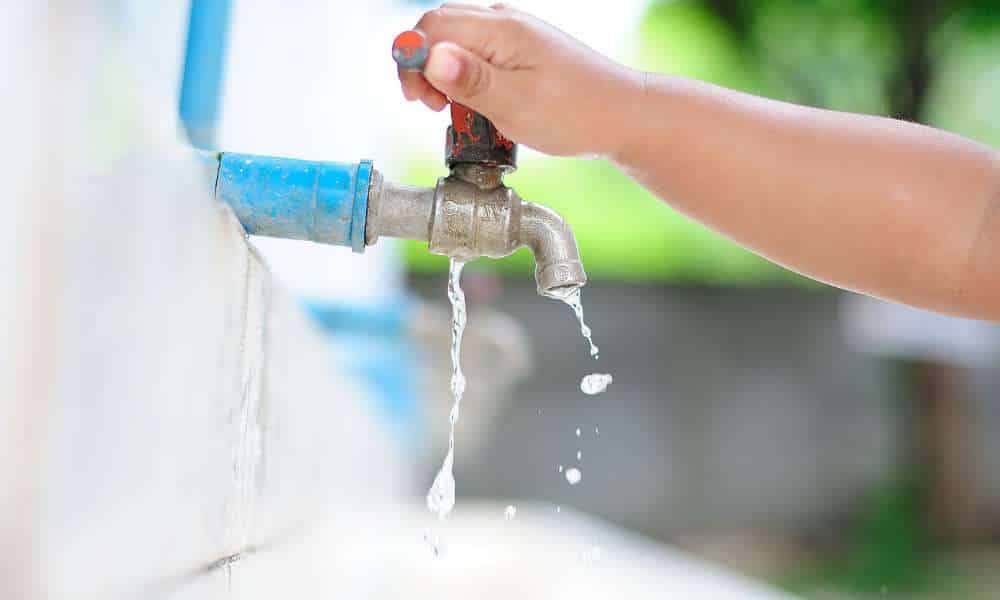
1. Water Supply Shut Off
Water supply shut off is a common problem that can be caused by a variety of issues ranging from faulty plumbing to worn out parts. Thankfully, knowing how to replace an outdoor faucet can help you avoid this issue and keep your water running smoothly. Replacing an outdoor mill isn’t difficult, but it does require some basic plumbing knowledge and the right supplies.
Before beginning, make sure you are familiar with the local building codes regarding water lines and have all necessary parts on hand for installation. You will need plumber’s tape, pipe thread compound, elbow fittings, open-end wrenches and adjustable wrenches for the job. Additionally, it’s important to turn off the main water line before starting work so that no water is flowing through the pipes when you begin repairs or replacements.
2. Prepare Tools and Materials
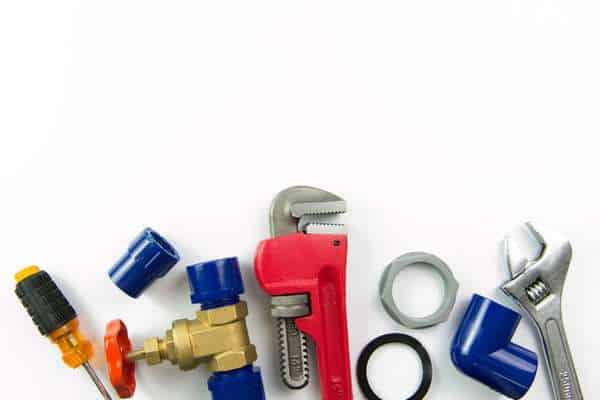
Replacing an outdoor faucet can seem like a daunting task, but it doesn’t have to be. The key to success is having the right tools and materials on hand before you begin the job. Before attempting to replace an outdoor mill, gather all of the necessary items for a successful repair. You’ll need a basin wrench, adjustable pliers, pipe joint compound, Teflon tape, and of course replacement parts such as: threaded stem assembly with packing nut and washer; vacuum breaker; handle kit with valve stem; sill cock (optional); copper tube sleeves or plastic compression rings (optional). Having these materials ready will ensure that you are prepared when it comes time to complete your outdoor mill replacement project.
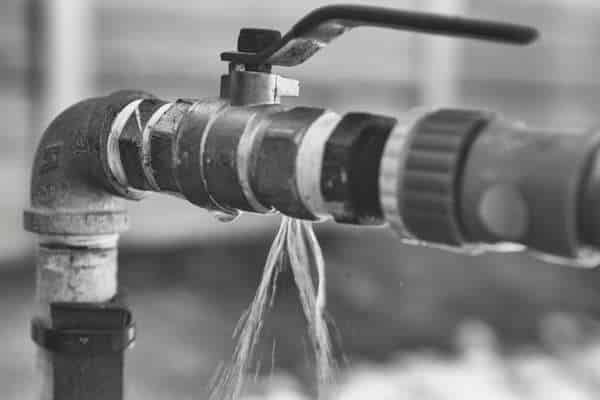
3. Remove Old Calls
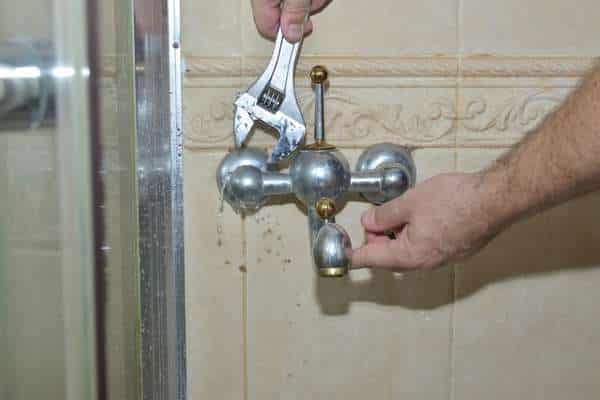
The first step is to turn off the water supply that feeds into your existing outdoor faucet. This will prevent any water from flowing out when you start disconnecting the pieces. Once this is done, take apart the components of the existing faucets such as the handles, nuts, washers and gaskets by using a wrench or pliers. After all of these parts have been removed, carefully unscrew the old faucet from its mounting surface and remove it completely.
4. Cut Out the Damaged Area of the Pipe

Replacing an outdoor faucet may seem like a daunting task. However, with the right tools and a few steps of direction, it can be done easily and quickly.
The first step is to turn off the water supply to the outward faucet. You will need to locate the main shut-off valve for your home’s water supply and turn it off completely. After that, open up the damaged area of pipe by using a hacksaw. Or pipe cutter to make sure there are no hidden pieces of damage you could not see from outside inspection. Once this is done, use sandpaper or steel wool to sand down any areas that have been cut away so they are smooth and free of sharp edges.
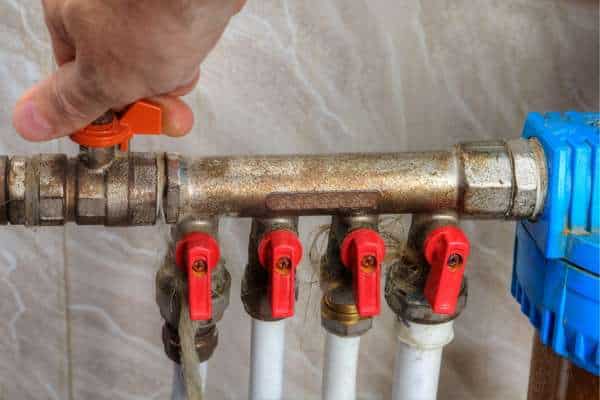
5. Connect the Water Line

Replacing an outdoor faucet can seem daunting, but with the right tools and knowledge it doesn’t have to be. Knowing how to connect a water line is an essential part of replacing any outdoor mill. This article will provide you with the steps needed to successfully connect a new water line for your outdoor mill.
To begin, turn off the shut-off valve that supplies water to the existing outward faucet. Make sure that all of the residual water has been drained prior to removing the old fixture. Once it is removed, inspect both ends of the piping in order to determine whether or not they need replacing as well. If necessary, cut and attach new pipes before connecting them to your new outdoor faucet.
6. Test for Leaks
Leaks can be a nuisance in the home and can lead to major water damage. Knowing how to test for a leak and replace an outdoor faucet is important to ensure your home is protected from potential damage. To test for leaks, make sure all faucets are off and that no one is using any water inside or outside of the house. Check the water metre to see if it’s running when all faucets are off – if so, you have a leak. Once you know there’s a leak, you should replace the outdoor mill. Start by turning off the main water supply line into the home then use an adjustable wrench to loosen and remove the old faucet. Make sure to clean up any debris before installing a new one. Take care not to overtighten since this may cause damage or leaking.
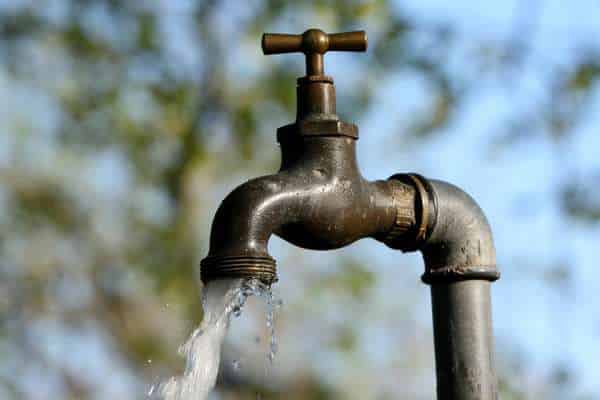
7. Install New Calls

Replacing an outdoor faucet can be a daunting task. But it is possible with just a few tools and some elbow grease. From shutting off the water to installing the new fixtures. There are several steps you should take when replacing an outdoor mill. Knowing exactly how to do this correctly will save you time and money in the long run.
The first step in replacing an outward faucet is making sure that all of your supplies are on hand. This includes a replacement set of valves, pipe tape, pliers and adjustable wrench for loosening connections. Once you have all your materials together, turn off the main water supply before beginning any work so that no water is running through your system while you are making repairs. Next use the adjustable wrench to loosen any existing connections and remove them from the pipes leading up to your old faucet.
8. Make Sure Everything Fits Together
When it comes to maintaining your outdoor plumbing, replacing an old or broken faucet is often a necessary task. If you’re looking for advice on how to replace an outward faucet, then you’ve come to the right place. This article provides helpful tips and tricks on successfully replacing your outdoor mill in no time at all.
Before you begin the replacement process, it’s important that you ensure all parts fit together properly. First, measure the size of your existing faucet and make sure that the new one matches in terms of measurements. Additionally, always check for damage or corrosion before purchasing a new faucet as this can affect its overall performance and durability when installed outdoors. Finally, take note of any additional features like frost-proofing or water conservation that are included with the replacement fixture.
Conclusion
Replacing an outdoor faucet is not a difficult task. With the right tools and supplies, you can easily complete the job in a matter of hours. Remember to turn off the aqua at the source before starting, and check for any breaks or cracks that may appear. Take your time to make sure everything is properly tightened before turning on the water. Finally, clean up any excess debris after the job is done for a successful installation.