
I used to hate making eggs in a stainless steel pan. No matter what I did, they always stuck. The yolk would break, the white would tear, and I’d end up eating scraps. It felt like a fight every morning. But that changed the day I learned how to prevent eggs from sticking to stainless steel pan. It wasn’t magic. Just heat, timing, and the right pan. Now, eggs slide out smooth and easy. I want to share that trick with you. This guide is for anyone tired of scrubbing pans or tossing ruined eggs. Let’s make mornings better.
Why Do Eggs Stick to Stainless Steel?
Stainless steel looks smooth, but it isn’t nonstick. There’s no coating to help food slide off. That means eggs can grab hold and stay stuck.
Heat plays a big role. Cold pans don’t work well. Proteins bond to cool metal fast. That’s what causes tearing and mess.
High heat can also cause sticking. Oil breaks down. Eggs burn. A hot, dry pan turns into glue.
Nonstick pans hide these flaws. Stainless steel doesn’t. It needs a different touch. It rewards slow, steady heat and care.
Before You Crack: Tools That Make a Difference
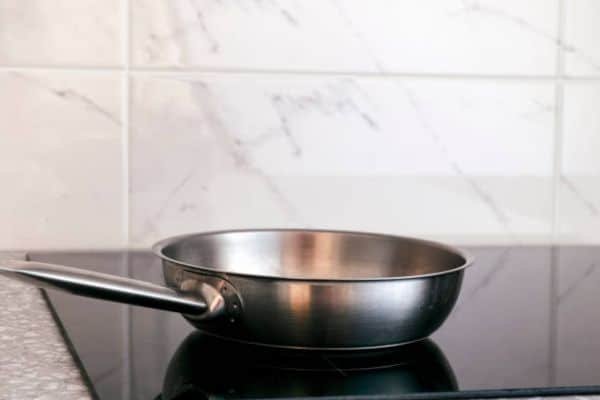
Not all pans are made the same. That’s why the right tool makes a big difference. For eggs, a smaller pan is often best. It keeps the oil in place and helps the heat stay even.
A heavy pan holds heat better. Thin pans heat too fast and cool too quick. That makes the surface go from sticky to worse. Go for one with a thick bottom and solid feel. You’ll notice the change right away.
Size matters too. For one or two eggs, I use an 8-inch pan. It’s the best small fry pan for eggs in my kitchen. It cooks fast, holds the heat, and cleans easy. Bigger pans spread oil too thin. Smaller ones crowd the egg.
Look for even heat, a soft grip, and a smooth cooking surface. Stay away from cheap handles and loose rivets. I once had a pan tip while flipping. Not fun.
Step-by-Step
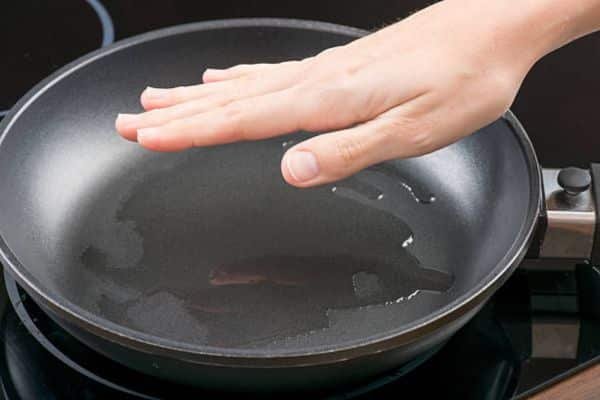
Step 1: Preheat the Pan (The Water Ball Test)
Place the pan on the stove over medium heat. Let it sit for about two minutes. To test, flick in a drop of water. If it rolls like a ball, your pan is ready. No roll? Give it a few more seconds.
Step 2: Use the Right Amount of Oil or Butter
Add just enough oil to coat the surface. You don’t need to drown it. Tilt the pan so it spreads out. I use avocado oil or a dab of ghee. Both work well and don’t burn fast.
Step 3: Control the Heat (Medium Is Your Friend)
Keep the heat steady. Not too high. Not too low. A gentle sizzle is perfect. If the oil smokes, take it off the heat and start again.
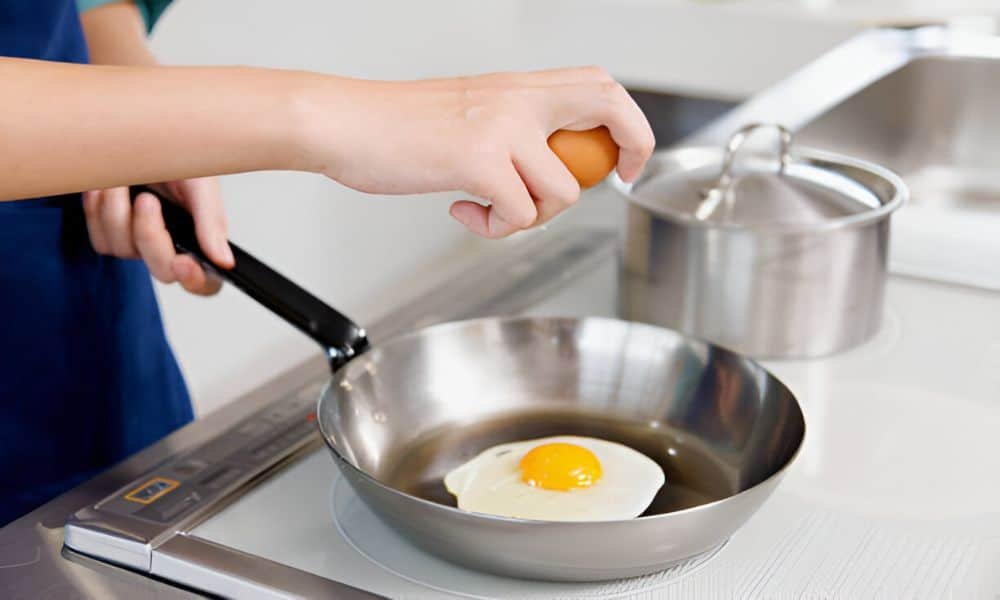
Step 4: Gently Add the Egg (No Cracks in the Plan)
Crack your egg into a small bowl first. Then pour it slowly into the center of the pan. This keeps the yolk whole and prevents shell bits. Trust me—it makes a big difference.
Step 5: Let It Set—Don’t Rush the Flip
Now, don’t touch it. Let the egg cook. The white will set and lift on its own. You’ll know it’s ready when it slides around . If it’s still stuck, give it more time.
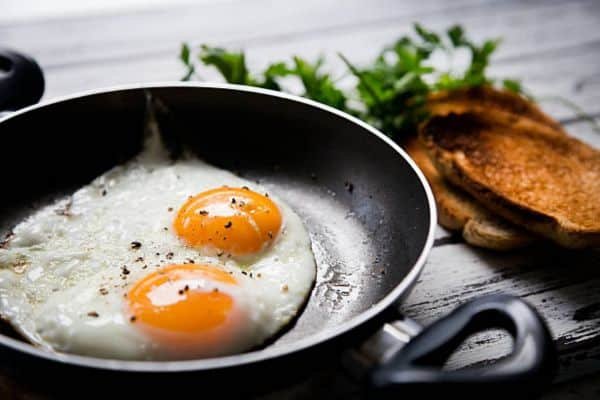
Step 6: Slide, Serve, and Smile
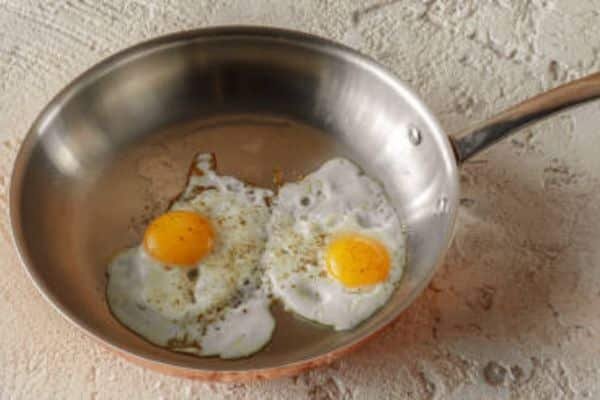
Once the egg moves easily, slide a spatula under it. Lift gently and serve. The bottom should be golden, the top soft. No sticking. No stress. Just breakfast done right.
Bonus Tip: Scrambled Eggs in Stainless Steel Made Easy
Scrambled eggs can be tricky too. But once you know the steps, it gets simple. The good news? You can use the same method you learned
Start by heating the pan. Use the water ball test like before. Add your oil, then turn the heat down low. This part matters.
Pour in the beaten eggs and stir right away. I use a soft spatula and move in slow circles. Don’t rush it.
Here’s my favorite trick—pull the pan off the heat early. Let the heat in finish the job. It keeps the eggs soft and creamy, not dry or rubbery.
The result? Light, fluffy eggs that don’t stick. And cleanup is easy too. Once you get this down, you’ll never want to go back to nonstick.
Common Mistakes (And How to Fix Them)
Even with a good pan, small errors can lead to stuck. Here are the ones I see most—and how to fix them fast.
- Using Too Little Oil
A dry pan invites trouble. Eggs need a slick surface to stay free. Use enough oil to coat the bottom fully. Not a splash—think of it as a light layer of paint. - Cold Eggs Straight from the Fridge
Cold eggs hit a hot pan and shock the surface. That’s how sticking starts. Let your eggs sit at room temp for a few minutes. Or warm them in a bowl with warm water. - Pan Not Hot Enough
A cool pan makes eggs cling. Always preheat first. Use the water drop test to check. It should roll, not sizzle and vanish. - Overcrowding
Too many eggs drop the heat fast. That leads to uneven cooking and more sticking. Cook one or two eggs at a time. Give them space to breathe and set.
Fix these small things, and you’ll see big results. It will cook better, taste better, and come off the pan with no fight.
Quick Clean-Up Tips for Sticky Residue
Even with the right steps, some mess may stick behind. That’s normal. But cleanup doesn’t have to be a chore.
Try this simple trick: pour a bit of water into the warm pan. Let it simmer for a minute. Use a wooden spoon to loosen any bits. Most of it lifts right off.
Skip harsh scrubs or steel wool. They scratch the surface and ruin the finish. Use a soft sponge or brush instead. For deeper spots, add a drop of vinegar or baking soda to help.
Clean tools cook better. And caring for means more happy mornings ahead.
Final Thoughts
You don’t need fancy gear or chef skills to get this right. All it takes is a good pan, steady heat, and a bit of care. You’ve learned how to prevent eggs from sticking to stainless steel, and that’s a win on its own.
Remember the steps—preheat well, use enough oil, and let the egg settle before touching it. Each move makes a big difference. Once it clicks, you’ll wonder how you ever struggled.
So go ahead—crack an egg tomorrow. Use what you’ve learned. Watch it cook, lift, and slide with ease. That feeling? That’s kitchen confidence. You’ve earned it.