
I remember the day I tried cooking eggs in a stainless steel pan. They stuck like glue. I poked, scraped, and sighed. My dream breakfast turned into a cleanup nightmare. Back then, I had no idea how to know when stainless steel pan is ready. I just tossed in food and hoped for the best. That didn’t work.
Since then, I’ve learned the secret. It’s not luck. It’s timing. And now, stainless steel is my favorite tool in the kitchen. In this guide, I’ll share what actually works—clear, tested tips that help you cook like a pro from day one.
Why Pan Readiness Matters (And What Happens If You Ignore It)
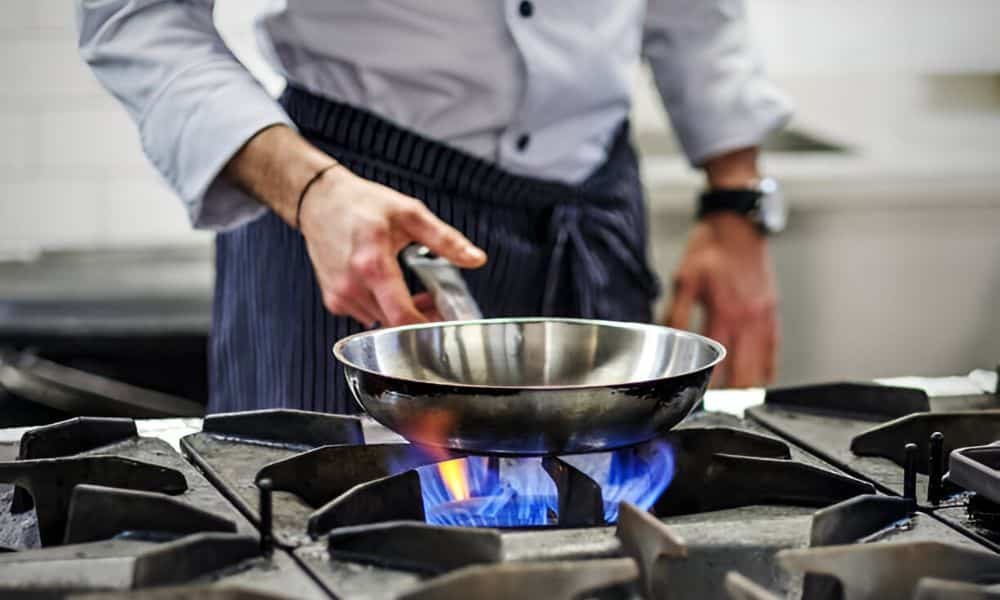
Stainless steel needs heat. That’s the rule. Not too much. Not too little. Just right. Without heat, food sticks. Eggs tear. Fish breaks apart. Onions burn on one side and stay raw on the other.
I’ve done all of that. I tossed food into a cold pan. It looked fine at first. Then I tried to flip it—and everything clung tight. No release. No browning.
Another time, I rushed. I turned the heat high and poured in oil. It smoked fast. My eyes burned. The food went from raw to charred in seconds.
Stainless steel wants balance. A calm, even surface. Not a firestorm. Not a chill zone. Once that balance hits, the food slides. It browns. It smells right. That’s the goal. Trust the process. Let the pan do the work. You’ll taste the difference in every bite.
How to Know When Stainless Steel Pan Is Ready – 3 Easy Tests
Knowing the right moment changes everything. A ready pan brings smooth flips, golden crusts, and zero stress. It’s not about guessing. It’s about seeing, feeling, and hearing. I learned this by trying and failing. Now I use these three easy tests every time. They never let me down.
The Water Drop Test (Most Reliable)
This one works like magic.
- Place your dry pan on medium heat.
- Wait about two minutes.
- Flick a small drop of water onto the surface.
- Watch what the drop does.
If the water just steams and vanishes, wait longer. The goal is to see the drop form a ball. It should roll across the pan like mercury. That’s your sign.
The Oil Shimmer Test
Sometimes I skip water and go straight to oil. This test helps me cook fast. Start with a dry pan. Let it heat. Add a small amount of oil. Then look closely. Cold oil spreads slow. It sits thick. Warm oil moves faster. Hot oil turns thin and shiny. It shimmers like a heat wave. That shimmer means the surface is ready. Add food now, and it will glide instead of sticke
The Hand Hover Test
This one needs no tools. Just your palm. Hold your hand a few inches above the pan. Don’t touch it. Feel the heat.
A cold pan gives off nothing. A warm pan sends gentle heat upward. A ready feels steady and strong. Like warm sun on your skin. I use this test daily. It’s fast. It works. It keeps things simple.
Pro Tips for Perfect Cooking Results Every Time
Stainless steel rewards good habits. These small steps make a big difference. They turn messes into meals you’re proud of.
Start with an empty pan. No oil. No food. Let it heat first. This step builds the right surface. No shortcuts here.
Keep the heat at medium. That’s the sweet spot. High heat causes burning. Low heat won’t seal the surface.
Before food touches , pat it dry. Water ruins the browning. Dry food cooks better and faster. Always.
Let the food release itself. Don’t push it. Don’t scrape it. It will lift once the crust forms. That’s the signal.
Once you get the rhythm, try delicate things. I use the best small fry pan for eggs in my kitchen. It’s stainless. No coating. No tricks. Just clean heat and control.
Best Small Fry Pan for Eggs: My Go-To Choice
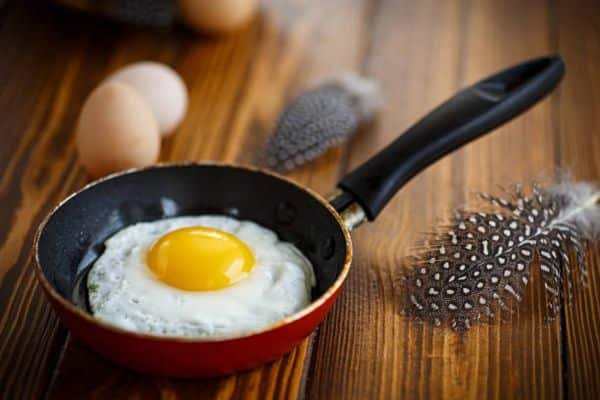
I’ve tried many pans over the years, but one stands out. It’s an 8-inch stainless steel fry pan. No coating. No fancy features. Just solid, balanced heat.
The small size keeps the heat even. It fits two eggs with room to breathe. Nothing spills over.
This is where size and material matter. A smaller heats faster. Stainless steel gives better control. It browns the edges just right without overcooking the yolk.
Here’s my favourite trick. Flick a drop of water into the pan before cracking the egg. If the drop rolls like a bead, it’s time. That one step makes eggs come out smooth, soft, and golden.
Mistakes I Made So You Don’t Have To
I’ve burned more food than I care to admit. But each mistake taught me something. Here are the big ones.
I used to add oil before heating. Sounds harmless, right? But it always led to sticking. Cold oil spreads wrong and cooks unevenly.
Another bad habit? Cranking the heat high. I thought faster meant better. Instead, I got smoke, burned oil, and tough food.
Sometimes I skipped the tests. I rushed. Tossed food in without checking heat. That always ended in scrubbing and frustration.
I also forgot to dry food. A little moisture makes a big mess. Water cools the pan and kills the crust.
Your Stainless Steel Success Routine (Step-by-Step Recap)
Here’s the simple routine I follow every day. It works for eggs, meat, veggies—everything.
Before You Cook:
- Start with a clean, dry pan
- Place the pan on medium heat
- Let it heat for 2–3 minutes without oil
Do the Water Drop Test:
- Flick a drop of water
- Watch for a round bead that rolls around
Add Oil and Let It Heat:
- Pour in your oil right after the water test
- Let the oil shimmer before adding food
Trust the Process:
- Don’t poke or flip too early
- Let food lift on its own
Stick to this checklist. Repeat it each time. You’ll get smooth cooking and zero sticking. Stainless steel becomes easy with a little rhythm.
Final Thoughts
Stainless steel can feel tough at first. That’s normal. I’ve been there—burned meals, stuck food, and hours of cleanup.
But it gets easier. With each meal, you’ll learn something new. One day it just clicks. The pan heats right. The food lifts. The cleanup takes seconds.
Try the tests. Follow the steps. Don’t worry about perfection. Focus on progress. Cooking should feel good, not stressful.