
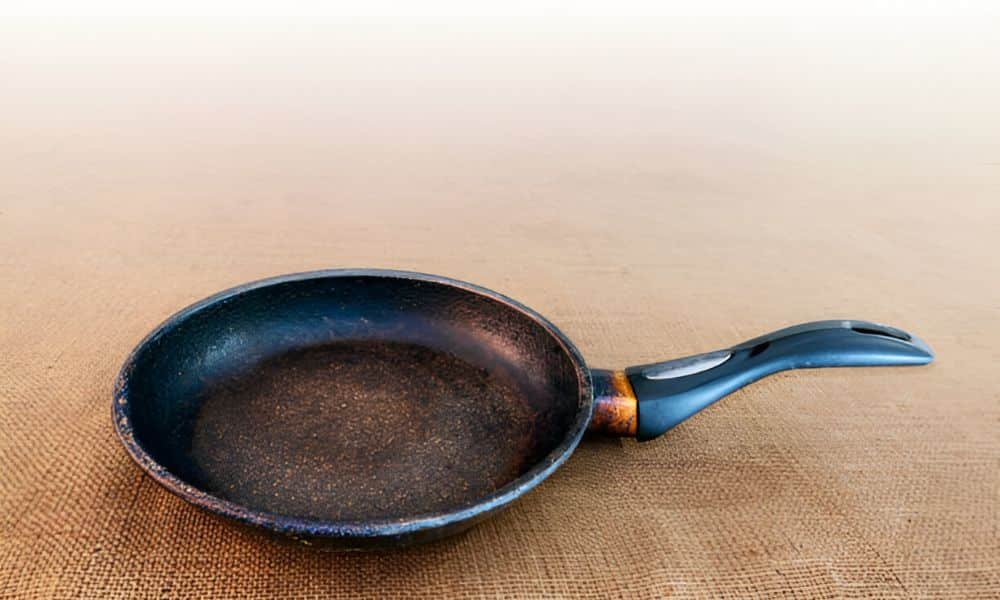
I once wondered how to fix a rusty cast iron pan after finding my old skillet buried in a kitchen drawer. The surface was rough and orange with rust. I thought it was ruined. But something told me to give it a second chance. That one choice led me to a method that brought it back to life. Today, that same pan is my favorite tool in the kitchen. In this guide, I’ll show you how to do it too—step by step. Simple tools, clear instructions, and tips from real experience. Let’s save your pan together. You’ve got this.
Why Cast Iron Rusts and Why It’s Okay
It’s easy to panic when you see rust on a cast iron pan. I’ve been there. The reddish spots look scary, and they can make your pan feel like a lost cause. But here’s the good news: rust is normal—and it’s totally fixable.
It rusts because it’s made of bare metal. When water touches the surface and stays too long, rust forms. This can happen after washing, leaving it in a damp sink, or storing it without drying. Even humid air can cause rust over time.
Don’t feel bad. Almost every cast iron owner faces this. It doesn’t mean you ruined it. In fact, rust just means your pan needs a little care. And once you learn how to fix it, you’ll feel more confident every time.
Trust me—I’ve saved pans that looked far worse than yours. And they’re still cooking strong today.
What You’ll Need to Fix
Fixing a rusty doesn’t take fancy tools. You only need a few simple things—most are already in your kitchen.
Here’s what you’ll need:
- Steel wool or a stiff scrub pad
- Dish soap
- Warm water
- Paper towels
- Cooking oil (like vegetable or flaxseed)
- An oven for seasoning
That’s it. Nothing expensive. No special cleaner. Just a bit of time and effort.
While cast iron is perfect for searing and baking, it’s not ideal for every task. For quick eggs or delicate foods, I like using the best small fry pan for eggs. It’s lightweight, nonstick, and easy to clean—a great partner.
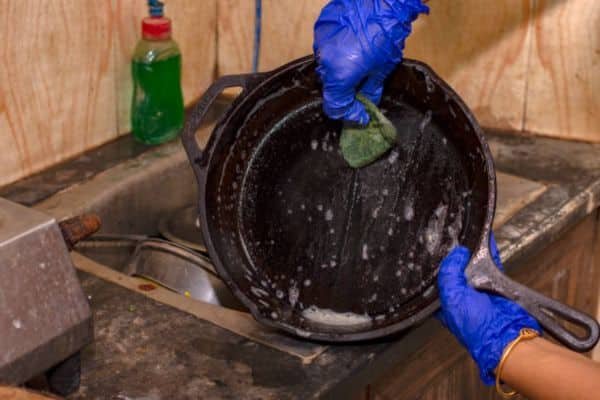
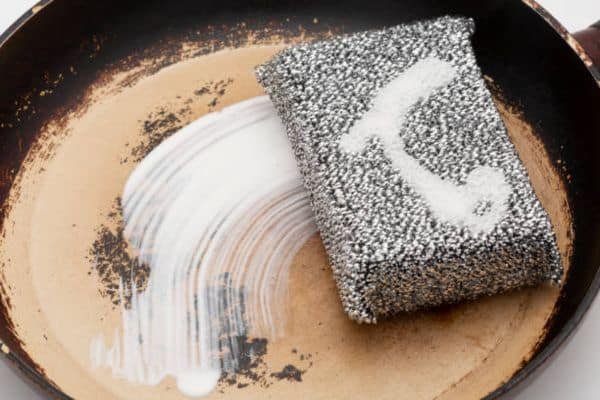
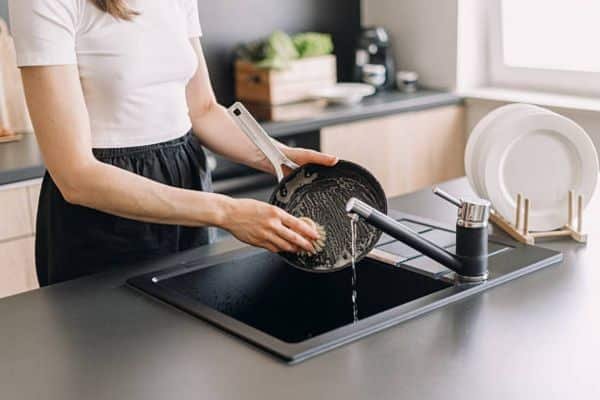
Step 1: Scrub Away the Rust
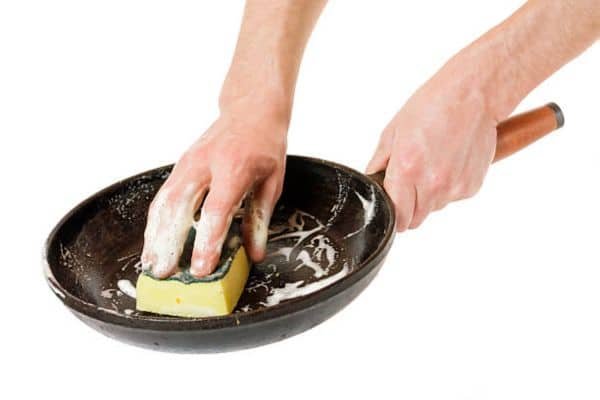
Start with warm water and dish soap. Grab steel wool or a tough scrub pad. Scrub in small circles across the rusty spots. Keep going until you see smooth black metal again. Take your time—it’s worth it.
Step 2: Rinse and Dry Right Away
Rinse off all the soap under warm water. Wipe the pan dry with a clean towel. Then place it on a stove over low heat. Let it warm for five minutes to remove every bit of moisture.
Step 3: Re-season Your Pan
Now it’s time to build a new surface. Rub a light oil layer all over the pan—inside, outside, and even the handle. Wipe away extra oil with a dry paper towel. You want the pan to look dry, not shiny.
Preheat your oven to 450°F (230°C). Place the pan upside down on the top rack. Use foil on the lower rack to catch any drips. Let it bake in oven for one hour. Turn the oven off and let the pan cool inside.
Step 4: Cool and Repeat (Optional)
One round of seasoning works for most pans. For a smoother surface, you can repeat the oiling and baking steps two or three times. Each layer makes your pan stronger and more nonstick.
My Go-To Tips for Best Results

- Use flaxseed or vegetable oil. Both create a smooth, strong finish. Flaxseed gives a harder layer, but vegetable oil works just fine.
- Avoid too much oil. A thin coat is all you need. Extra oil leads to sticky spots, not a better surface.
- Always dry after washing. Water is the main cause of rust. I dry with a towel, then warm it on the stove for a few minutes.
- Store it with care. Leave it in a dry place. No lids on top—they trap moisture.
- Pair it with the right tools. I use my cast iron for searing, but for delicate breakfasts, I switch to the best small fry pan for eggs. It’s light, quick, and great for mornings on the go.
Daily Use & Long-Term Care
Caring for cast iron is easy once you get the hang of it. Here’s the simple routine I follow every time:
- Rinse the pan with warm water after cooking.
- Scrub gently if needed, using a soft brush or chainmail scrubber.
- Dry right away with a towel, then heat it on the stove for a few minutes.
- Rub a drop of oil over the surface. Wipe it down until it feels smooth, not greasy.
- Store in a dry place, never with the lid on.
The more you use cast iron, the better it gets. Each time you cook, you add to its seasoning. That means more flavor and less sticking over time. I’ve found that regular use keeps it stronger than long rest periods.
Stick to the routine, and your pan will reward you with years of perfect meals.
When to Restore Again
Even with regular care, It can need a refresh now and then. Look for these signs:
- Orange spots starting to show
- Sticky surface that won’t wipe clean
- Food sticking more than usual
These are normal. They just mean it’s time for another round of seasoning—or a deeper clean.
Don’t toss it—fixing a rusty cast iron pan is easier every time. The more you do it, the faster it gets. And each layer of care adds strength, shine, and history to your favorite.
FAQs
Can I use soap?
Yes—but only during rust removal. Once it’s seasoned, skip the soap. Warm water and a scrubber are all you need.
How often should I season it?
A full seasoning isn’t needed often. Just keep using. Wipe it with oil after each use. That’s usually enough.
What oil works best?
Flaxseed oil gives a hard, smooth finish. But vegetable or canola oil work great too—and they’re easier to find.
What if I don’t have an oven?
You can season on the stove. Just heat the pan with oil over low heat. Flip it a few times. It works, but takes more care.
Conclusion
Bringing back to life is easier than it seems. Scrub off the rust, dry it well, season with a light oil layer, and bake it in the oven. That’s all it takes. With each step, your pan gets stronger—and so does your confidence.
Don’t worry about perfection. Cast iron is tough. It forgives mistakes. The more you use it, the better it gets.
Every mark on my pan tells a story—I hope yours does too. It’s not just cookware. It’s a tool that grows with you.