
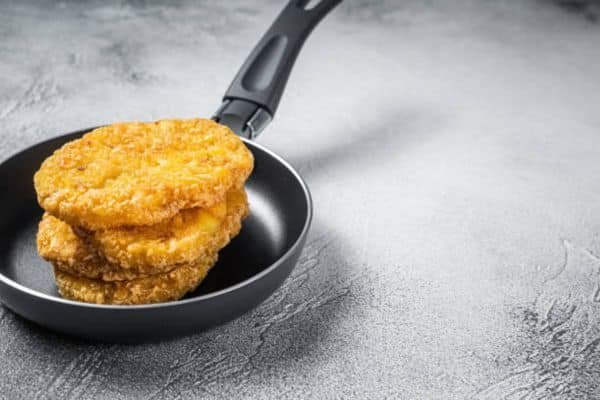
I still remember the first time I made hash browns in a pan. It was a quiet morning. I grabbed a small fry pan—the same one I use for eggs—and tossed in frozen hash browns straight from the freezer. The sizzle hit my ears like music. A few minutes later, I had crispy golden bites that tasted better than any diner. That moment started my love for this simple dish. Learning How To Cook Frozen Hash Browns In A Frying Pan changed breakfast for me. It’s quick, easy, and anyone can do it. Let me show you how.
Why Choose a Frying Pan for Frozen Hash Browns?
A frying pan keeps things easy. You don’t need fancy tools. No oven. No air fryer. Just a stove and a pan.
The result is worth it. The hash browns turn crispy on the outside. The center stays soft and warm. Each bite feels golden and fresh.
This method works for anyone. No cooking degree needed. Even the best small fry pan for eggs does the job well. It’s ideal for small spaces and simple meals.
What You’ll Need to Get Started
You don’t need much. Just a few tools and simple ingredients.
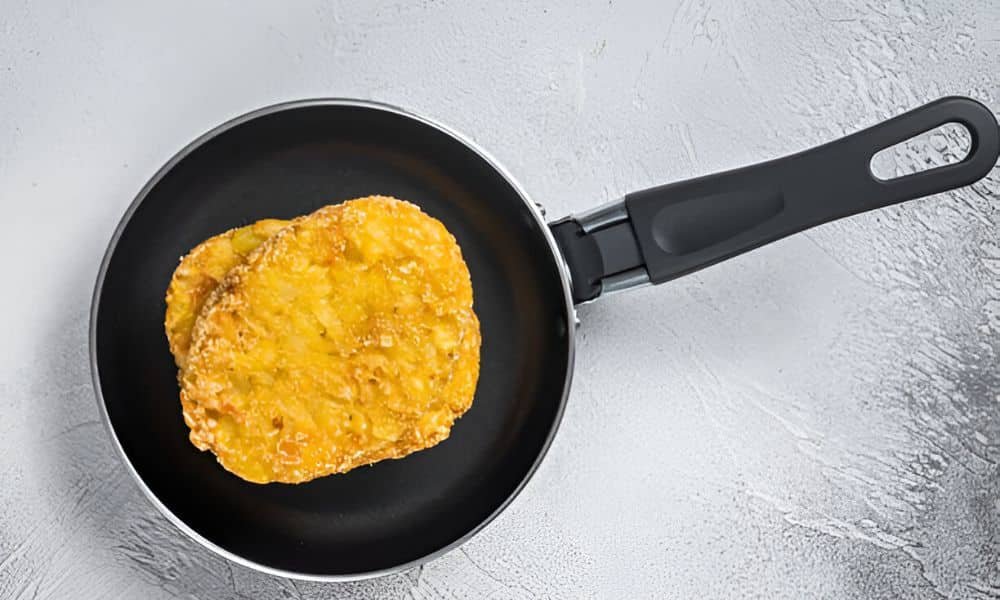
Grab a frying pan. A small non-stick one works great. I use the same pan I make eggs in every morning.
Next, get Shredded or patties—both are fine.
Use oil or butter for a golden finish. I like a little of both.
You’ll also need a spatula for flipping. Nothing fancy.
Finish with a touch of seasoning. Salt, pepper, or your favorite blend.
Step-by-Step Guide
Follow these easy steps for crispy, golden hash browns at home. All you need is a good pan, some oil, and a little time.
01. Preheat Your Pan the Right Way
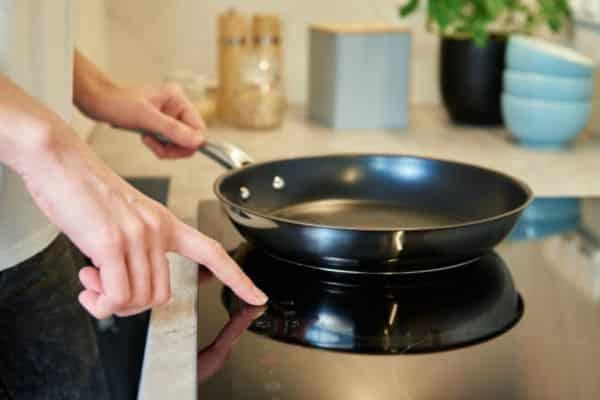
- Set your pan on the stove over medium heat.
- Let it warm up for 3–4 minutes.
- To check, drop a bit of water in. It should sizzle.
- A hot pan helps build that crispy base.
02. Add Oil or Butter for Crispy Texture
- Pour in 1–2 tablespoons of oil or add a small slice of butter.
- Swirl it to coat the whole bottom.
- I like a mix of both for flavor and crisp.
- No dry spots—oil helps with even browning.
03. Place Hash Browns in a Thin, Even Layer
- Take thebrowns straight from the bag.
- Lay them flat in the pan.
- Don’t pile them up. Spread them out.
- More surface area means more crunch.
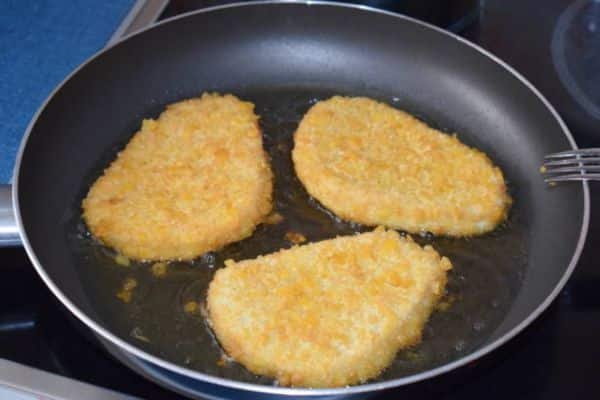
04. Press Down Lightly and Don’t Touch
- Use your spatula to press them down a bit.
- This helps them make full contact with the pan.
- Then let them sit. No stirring. No moving.
- Let the bottom crisp up undisturbed.
05. Flip Once for Even Browning
- Check after 5–7 minutes.
- The bottom should look golden and firm.
- Flip gently with your spatula.
- Try not to break the crust.
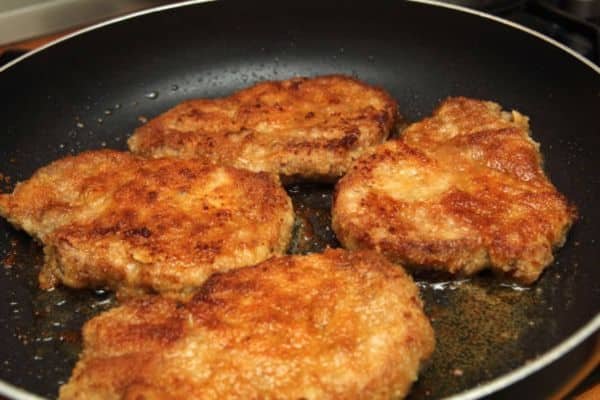
06. Cook Until Golden and Serve Hot
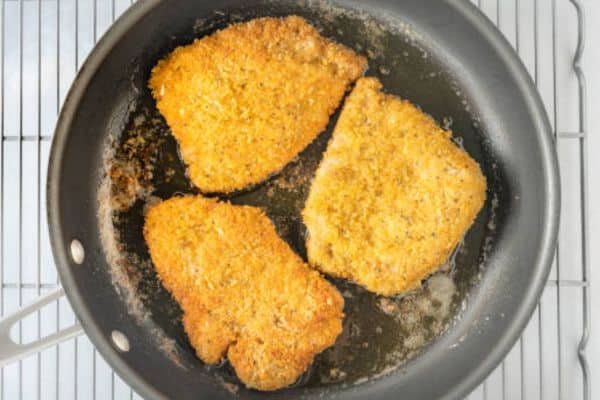
- Cook the second side for 4–5 minutes.
- Both sides should look crisp and golden.
- Remove from the pan and place on a paper towel.
- Serve hot with eggs, toast, or your favorite dip.
Pro Tips from My Kitchen (Hard-Earned Wisdom!)
These little tricks took me years to learn. Now you can skip the trial and enjoy perfect hash browns from the start.
Never Thaw
Thawed hash browns turn mushy. That moisture kills the crisp. Take them straight from the freezer to the pan. This keeps the outside dry and ready to brown.
Choose the Right Oil or Butter
Oil gives you crisp. Butter adds flavor. I like to use both. Start with oil, then drop in a bit of butter for taste. Stay away from low-smoke oils like olive oil.
Keep the Heat at Medium
Too hot, and they burn fast. Too low, and they stay soft. Medium heat gives control. It’s steady, gentle, and perfect for building a golden crust.
Cover the Pan for Thicker Hash Browns
Making a thick layer? Use a lid. It traps a little steam. That softens the inside without ruining the crisp. Just cover during the last few minutes.
A Small Fry Pan Handles Solo Servings Like a Pro
My go-to is still the best small fry pan for eggs. It fits just enough for one or two. It heats up fast and is easy to clean. For breakfast alone or quick snacks, it’s all you need.
What to Serve with Hash Browns (Quick Combos That Work)
Hash browns are more than a side—they’re the star. Pair them with the right foods, and you’ve got a full meal in minutes.
Eggs and Toast
The classic combo. Scramble, fry, or poach your eggs while the hash browns rest. Add toast on the side. It’s warm, filling, and always a hit.
Breakfast Burrito
Wrap the hash browns in a tortilla. Add scrambled eggs, cheese, and a little salsa. Roll it up, and you’ve got a quick, portable breakfast.
Sour Cream and Chives
Keep it simple. A dollop of sour cream and a sprinkle of chopped chives turn hash browns into something fancy. The cool cream and crisp potato are a perfect match.
Bonus Tip
Already using the best small fry pan for eggs? Don’t wash it yet. Just crack in a few eggs right after your hash browns come out. One pan, less mess, more joy.
Common Mistakes to Avoid (Learn from Mine!)
I’ve burned, broken, and undercooked more hash browns than I care to admit. These are the five big mistakes I’ve learned to dodge.
Touching Too Soon
Leave them alone. Let them sit and crisp. Moving them early breaks the crust and ruins the texture.
Overcrowding the Pan
Too many hash browns in one pan? They steam, not fry. Always leave space between each portion.
Low Heat or the Wrong Oil
Low heat gives you limp potatoes. Some oils burn too fast. Use medium heat and a high-smoke oil like canola or avocado.
Not Enough Oil or Butter
Dry pans lead to sad hash browns. Use enough fat to coat the bottom. This gives you that golden crunch.
Cold or Dirty Pan
A cold pan slows everything down. A dirty one burns leftover bits. Always start fresh and let the pan heat first.
Final Thoughts
Hash browns don’t ask for much. Just a pan, a little oil, and a few minutes of care. The steps are simple. The results feel special. A golden crunch, a warm center, and that smell filling your kitchen—what’s not to love? You don’t need anything fancy—just a pan, some and a little patience.