
If you’ve ever stared at your deep fryer and thought, “There’s no way this grease is coming off,” trust me—you’re not alone. I’ve been there too, scrubbing endlessly after a long weekend of fried chicken nights. Learning how to clean stuck-on grease from a deep fryer completely changed my kitchen game—it’s easier than you think once you know the right steps. Whether you’re trying to clean a deep fryer at home or manage a commercial fryer at work, I’ll show you simple, proven methods that actually work. Let’s roll up our sleeves and bring your fryer back to its shiny, grease-free glory—ready for your next golden batch!
Why Cleaning Stuck-On Grease Matters
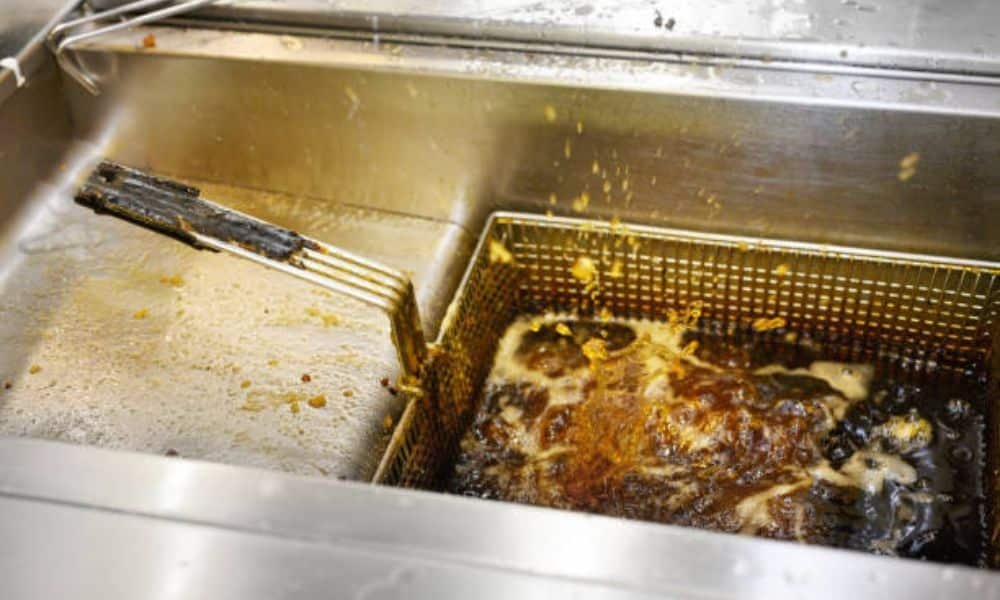
Cleaning a deep fryer keeps cooking safe and easy. Built-up grease can spark fires or fill the kitchen with smoke. It also leaves food tasting strange. Removing stuck-on grease from a deep fryer helps stop danger, bad smells, and dull flavors.
A clean fryer cooks better. Fresh oil heats evenly and gives food a light, crisp finish. Old grease spoils the taste and texture. Learning how to clean a deep fryer at home keeps meals golden, crunchy, and fresh every time.
Regular care also protects the fryer itself. Grease wears down metal and heating parts over time. Clean equipment lasts longer and saves money. Proper cleaning keeps your deep fryer strong and ready for long use.
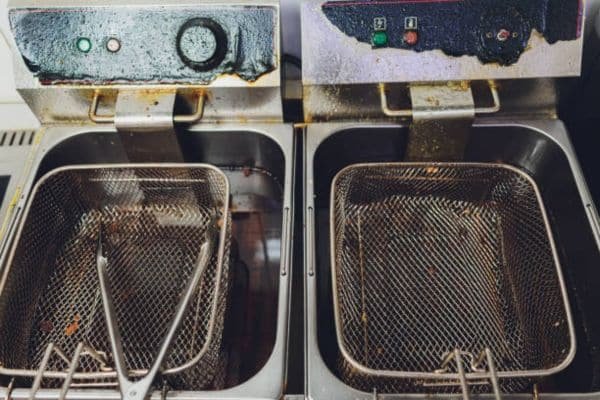
I once skipped cleaning for weeks and paid for it. The smell was awful, and the grease looked like tar. That day taught me a lesson worth sharing. Now I clean often and enjoy the scent of fresh oil and the joy of perfect fries.
What You’ll Need – Basic Cleaning Supplies
You don’t need strong chemicals to clean well. Simple things from your kitchen work best. They cut grease, remove stains, and keep your fryer safe. If you’re cleaning a deep fryer at home, these tools are enough.
- Baking soda or vinegar – breaks down grease fast.
- Dish soap or degreaser – helps wash away oily marks.
- Soft sponge or scrubber – wipes dirt without scratching.
- Plastic spatula or scraper – lifts hard spots gently.
- Microfiber cloths – great for drying and shining.
- Warm water – melts sticky oil and soap build-up.
- Optional: Commercial fryer cleaner – for big or heavy fryers.
These simple items work like magic. They’re safe, cheap, and easy to use. A few minutes of care can make your fryer look new again.
Step-by-Step Guide – How to Clean Stuck-On Grease from Deep Fryer
Cleaning takes only a few easy steps. Each one helps remove grease safely and keeps your fryer in good shape. Follow these short steps, and your fryer will look fresh and ready to use again.
Step 1 – Unplug and Cool Down

Always turn off the fryer before cleaning. Let it cool fully so the oil and parts are safe to touch. Pour used oil into a clean container to recycle or discard later. Cool oil is easier to handle and makes cleaning safer.
Step 2 – Remove and Soak Removable Parts
Take out the basket, lid, and oil pan. Soak them in warm, soapy water for a few minutes. Add a spoon of baking soda to boost grease removal. I like to sprinkle a little salt before scrubbing—it works faster and feels easier on the hands. Soaking softens old grease and makes it wipe off with no effort.
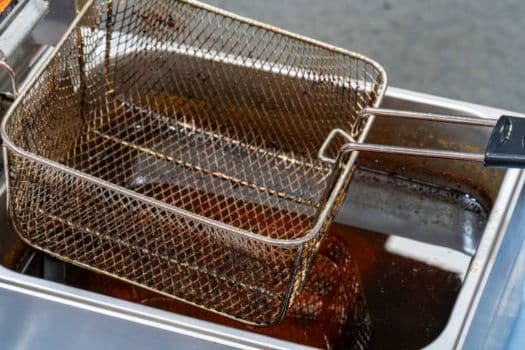
Step 3 – Loosen Stuck-On Grease Naturally
Mix baking soda with a bit of water to make a thick paste. Spread it over greasy spots and leave it for ten minutes. Wipe it off with a soft sponge. For stubborn grease, fill the fryer with hot water, add a drop of soap, and let it rest for twenty minutes. This trick melts tough grease without strong chemicals.
Step 4 – Deep Clean the Interior
Use a cloth dipped in vinegar and water to clean the inside walls. Scrape off burnt bits gently with a plastic spatula. Never dip the electrical base in water—it can damage the fryer. A gentle wipe keeps the inside clean and safe for the next use.
Step 5 – Rinse, Dry, and Reassemble
Rinse every part with clean water and let them air dry. Wipe the surface with a dry microfiber cloth. Reassemble the fryer only after all parts are fully dry. Dry parts protect your fryer from shocks and keep it working like new.
How to Wash a Deep Fryer at Home vs. a Commercial Fryer
Not all fryers need the same care. Home units are smaller and easier to clean, while commercial ones handle heavier use and need deeper attention. Both can stay spotless with the right steps and simple habits.
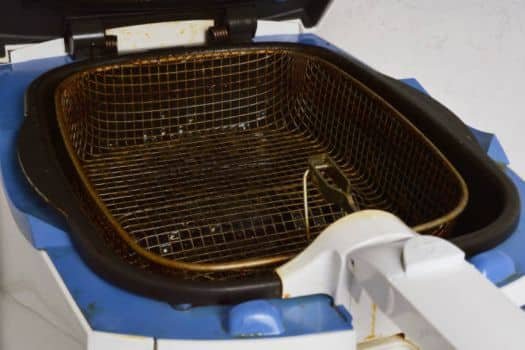
Home Deep Fryer
Light grease buildup is easy to handle with baking soda or vinegar. These mild cleaners break down oil without harming the surface. Cleaning once a week or after three to four uses keeps your fryer fresh. Avoid hard brushes or steel pads, as they can scratch the coating and dull the shine. Regular care makes a home fryer work better and last longer.
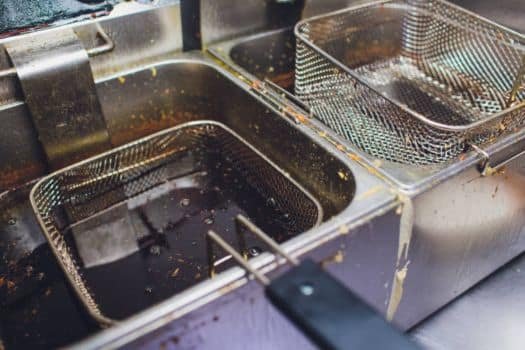
Commercial Fryer
Busy kitchens need a stronger approach. Heavy-duty degreasers or professional cleaners remove thick oil layers fast. The best way is the “boil-out” method—fill the fryer with water, add cleaner, heat it up, then scrub and rinse well. Always wear gloves and goggles for safety. Learning how to clean a commercial fryer properly keeps your kitchen compliant and your food consistent.
Quick Tips for Easier Future Cleaning
A few small habits can make cleaning faster next time. Simple steps help stop grease from building up and keep your fryer in great shape for longer.
- Strain oil after every use to remove crumbs and residue. Clean oil lasts longer and keeps food tasting fresh.
Wipe the interior after each fry session using a damp cloth. This quick step stops grease from drying and sticking. - Do a deep clean once a month if you use the fryer often. It keeps the heating parts clean and safe.
- Avoid overfilling with oil to prevent messy splatters and burnt spots.
- Pro insight: I always keep a small jar of baking soda paste near the stove. It works fast on small spills and saves a lot of scrubbing later.
A few minutes of care after each use makes a big difference. Your fryer will stay shiny, safe, and ready for the next crispy batch. Love simple cleaning tricks with Vinegar
FAQs
How often should I clean my deep fryer?
Give it a light clean after every few uses. Do a full deep clean once a month for best results.
Can I put fryer parts in the dishwasher?
Check the manual first. Some parts handle heat well, but others can bend or fade.
What’s the easiest way to clean a commercial fryer?
Try the boil-out method with a fryer cleaner. It’s safe, quick, and keeps food quality high in busy kitchens.
Final Thoughts
A clean fryer means better food, longer life, and safer cooking. Regular care keeps oil fresh, stops smoke, and makes every meal taste amazing. Clean equipment works smoother and gives perfect fries every time.
Now, I actually enjoy cleaning day. Seeing the fryer shine and smelling fresh oil feels rewarding. Every batch turns out crisp, golden, and full of flavor. Good cleaning habits make frying easy and fun.