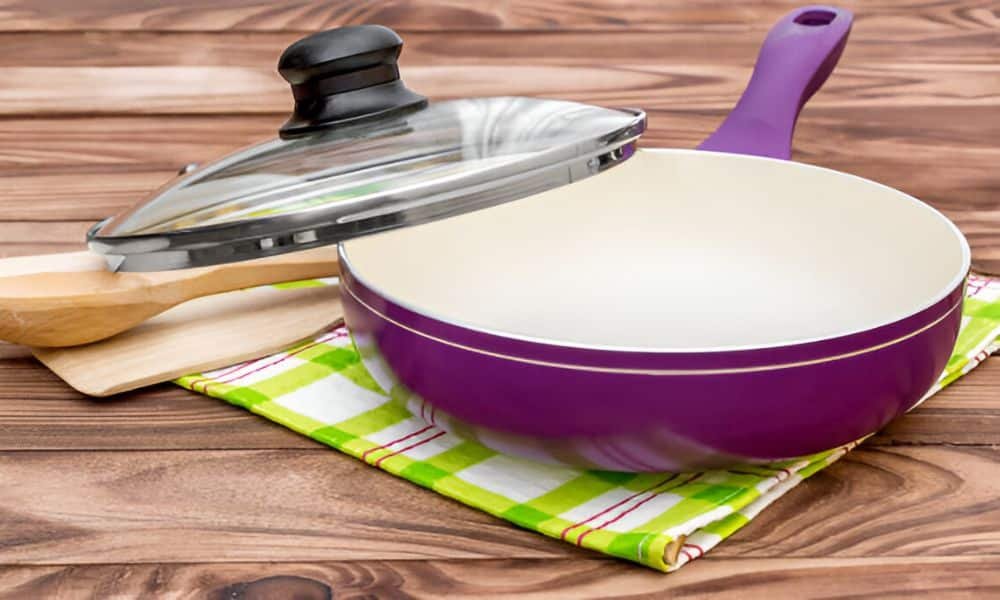
I still smile at my first ceramic pan. A soft cream color, a tiny sparkle, a small vow to care. One busy morning I cooked eggs and let the pan sit on heat too long. The eggs glued to the surface and a brown ring rose around the rim. I reached for a rough pad, then a friend said, “Slow down.” Warm water, a soft sponge, and calm hands did the trick how to clean ceramic frying pan . The shine came back, and so did my mood. That moment shaped the way I care for pans to this day.
What Makes Ceramic Different
Ceramic coating has a glass-like surface. It shines and feels slick. That slick feel can fade due to oil build-up, burned bits, or rough tools. The good news: most of that build-up can lift with a soft touch and the right steps.
Ceramic does not enjoy sudden heat swings. A hot pan dunked in cold water can suffer. Slow changes help the coating last longer. Think of it like caring for fine glassware.
Metal tools can scrape or dull the surface. Stick to wood, silicone, or nylon. A soft sponge keeps the sheen intact and keeps your pan feeling smooth.
Tools and Supplies I Trust
- Soft sponge or non-scratch scrub pad
- Mild dish soap
- Baking soda
- White vinegar
- Microfiber towel or soft cotton towel
- Small bowl for paste
- Silicone or wooden utensils
- A drop of neutral oil (avocado, grapeseed, or canola)
- Warm water
Keep these in one caddy near the sink. A tidy setup helps you act fast after cooking, which makes cleaning easy.
A Quick Guide on how to clean ceramic frying pan
The phrase sounds big, but the steps are small and calm. Follow this routine after each use. It keeps stains away and helps the coating stay smooth.
Step 1: Let the Pan Cool a Bit
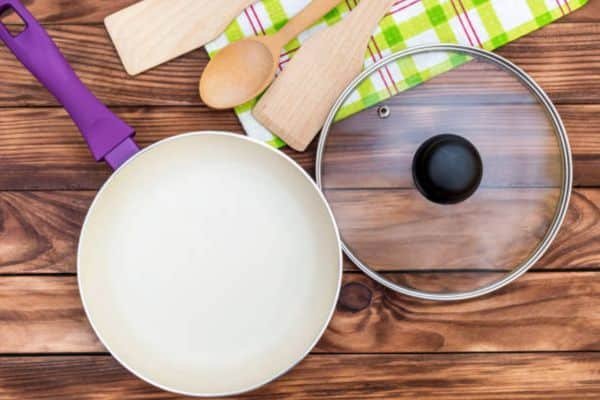
Set the pan aside until it is safe to handle. A warm pan cleans better than a scorching hot one. Cool enough to touch, warm enough to loosen residue.
Step 2: Wipe Off Loose Bits
Use a paper towel or a soft cloth to lift crumbs and extra oil. This clears the way for a gentle wash.
Step 3: Run Warm Water Over the Surface
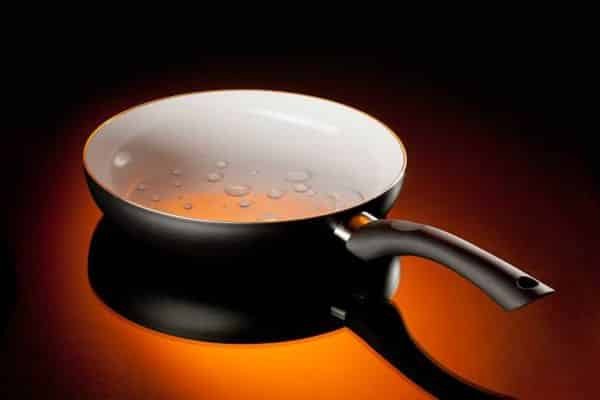
Warm water loosens oily film and food sugars. Hold the pan at an angle and let the water flow over the mess.
Step 4: Add a Drop of Soap
One small drop covers the job. Too much soap can leave a film. A little goes far on ceramic.
Step 5: Use a Soft Sponge
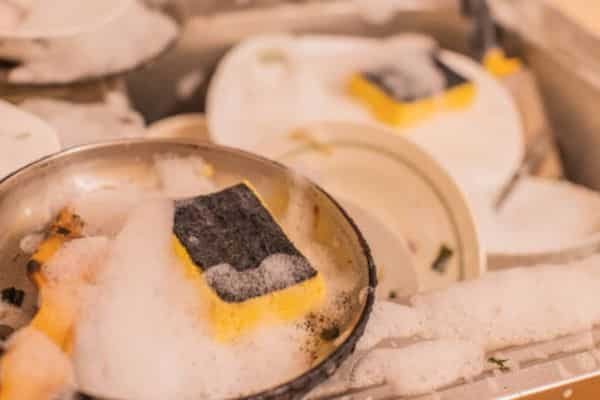
Make slow circles with the sponge, just like you would when caring for your Best Small Fry Pan for Eggs. Focus on the ring around the rim and the center where food sat the longest. Stay patient and steady.
Step 6: Rinse Well
Rinse until no bubbles show. Any soap left behind can dull the sheen over time.
Step 7: Dry Right Away
Use a soft towel to dry the pan fully. Water spots can leave light marks, so drying now protects the finish.
Step 8: Refresh the Slick Feel (Optional but Lovely)
Place a tiny drop of neutral oil on a dry paper towel. Wipe the inside surface with a thin, thin film. Buff with a clean part of the towel. The pan will look satin-smooth.
Deep-Clean Days: Handle Stains and Cloudy Film
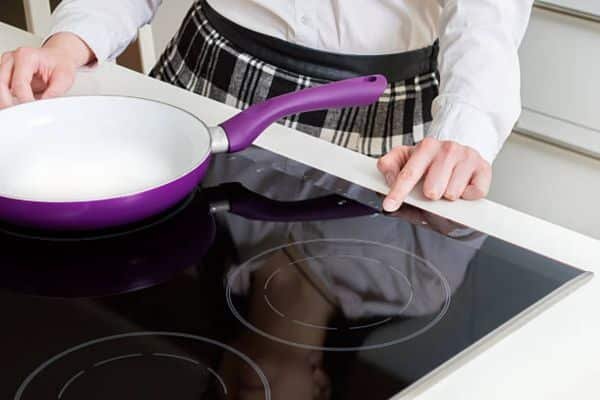
Some days, the pan needs more care. Brown rings, sticky patches, or a hazy film call for a deeper clean. Here is a gentle plan.
Method A: Baking Soda Lift
- Sprinkle baking soda over the damp surface.
- Add a few drops of warm water to form a light paste.
- Glide a soft sponge in small circles.
- Rinse well and dry.
Baking soda acts like a soft polish. It breaks up oils and light scorch marks without scratching.
Method B: Vinegar Rinse for Mineral Film
- Mix equal parts white vinegar and warm water.
- Pour into the pan until the bottom is covered.
- Let it sit for 10 minutes.
- Pour out, rinse, and wash with a drop of soap.
- Dry and buff with a towel.
This helps clear a chalky film from hard water or dried soap residue. The surface looks brighter after this short bath.
Method C: Paste for Stubborn Spots
- Make a thicker paste: 3 parts baking soda to 1 part water.
- Spread the paste on the stain.
- Leave it alone for 15–20 minutes.
- Rub gently with a soft pad.
- Rinse, wash, and dry.
Time plus a mild abrasive paste works wonders on caramelized sugars or cheese marks.
Burnt-On Mess Rescue
We all drift away from the stove for a few minutes. A sauce sticks. A piece of fish browns too far. No stress. Try this calm rescue.
- Fill the pan with warm water to cover the burned area.
- Add a small squirt of dish soap.
- Let it rest for 20–30 minutes.
- Use a soft spatula to nudge the edge of the stuck patch.
- Drain, then apply a baking soda paste over the spot.
- Rub lightly, rinse, and repeat once more if needed.
- Dry and refresh with a micro-film of oil.
The soak softens the bond. The paste lifts the stain. The gentle wipe brings back the glow.
Bring Back the Silk: A Simple Seasoning Routine
Ceramic is not cast iron, yet a light oil wipe helps. This keeps food from clinging and adds shine.
- Heat the pan on low for 60 seconds.
- Turn off the burner.
- Put a drop of neutral oil on a folded paper towel.
- Wipe the inside surface with a thin layer.
- Let the pan cool.
- Buff away any extra oil with a clean towel.
Do this after a deep clean or once a week for pans you use a lot. The surface will feel smooth to the touch.
Smart Storage and Daily Habits
- Hang the pan on a hook or store with a soft pan protector.
- Keep metal tools in a separate bin.
- Stack only with soft pads between pans.
- Avoid cutting food in the pan. A board belongs on the counter.
Small habits protect the coating and keep the pan looking new.
Mistakes to Skip
- Steel wool or harsh scouring powder
- Knives or metal tongs on the coating
- Strong bleach or oven cleaner
- Plunging a hot pan into cold water
- Huge flames that lick up the sides of the pan
Each one chips away at the glossy layer. Gentle tools and steady heat make the pan last.
Practical Tips From My Kitchen
Keep a “clean-as-you-go” mindset.
A quick wipe after cooking stops stains before they start. The whole routine takes less than two minutes.
Use the right sponge.
A non-scratch pad marked safe for non-stick surfaces is your best friend. Replace it the moment it looks tired.
Measure soap with the eye.
Too much soap leaves a film. A small drop is enough for one pan.
Mind the oil.
A micro-film helps food release and makes cleanup swift. Use a high-smoke-point oil for cooking and a neutral oil for the post-clean wipe.
Tackle stains soon.
Warm water loosens residue better than cold. Start the soak while the pan still holds a little warmth.
Rotate pans.
Give each pan a rest day now and then. Light use spreads wear across your set.
Use lids wisely.
A lid keeps messy splatter in check, which makes cleanup simple.
Choose tools with care.
Wood, silicone, or nylon keep the coating smooth. A thin silicone turner slips under delicate food with ease.
Rinse and dry fully.
Trapped soap or water spots dull the shine. A quick towel dry keeps the gloss bright.
Give the handle love too.
Wipe the handle and the outer ring near the rivets. Grease crawls there and can bake on during the next use.
A Weekly Glow-Up Routine
This routine is quick and keeps your pan looking showroom fresh.
- Wash the pan as usual.
- Rinse with a 1:1 mix of warm water and vinegar.
- Rinse again with plain water.
- Dry with a soft towel.
- Wipe on a paper-thin film of neutral oil.
- Buff to a soft sheen.
Five minutes, big results. The surface feels clean, and eggs glide again.
Troubleshooting Corner
The pan looks dull.
Try the baking soda paste method. Rinse, dry, and add a thin oil wipe. Dullness often comes from dried soap or mineral film.
Food still sticks.
Preheat on low for a short minute. Add a touch of oil and spread it with a brush or paper towel. Give the pan a weekly glow-up as shown above.
Brown rings keep coming back.
Lower the heat a notch during cooking. Sugars caramelize fast on high heat. A tiny heat drop reduces scorching and keeps cleanup simple.
A tiny gray mark appeared.
That can come from a metal tool brushing the coating. Clean with baking soda paste and switch to silicone tools. The mark often fades with gentle care.
A chip on the rim.
Use the pan for light tasks going forward and avoid stacking pressure on that spot. For heavy sear jobs, pick a pan with a steel or cast iron surface.
Caring During Cooking
- Start with low to medium heat.
- Add a thin oil coat for sticky foods.
- Use silicone or wood to stir and flip.
- Give the pan a moment to cool before washing.
- Clean and dry right away for the best shine.
These are small choices that keep the surface strong and smooth.
Eco-Friendly Cleaning Moves
Ceramic care can be green and simple. Baking soda and vinegar handle most stains. Mild soap, warm water, and patience do the rest. No need for a shelf full of strong chemicals.
Use cloth towels you can wash and reuse. Hang sponges to dry between uses. A tidy sink area keeps the process pleasant and fast.
A Short Note on Heat and Oil
High flames add stress and make stains more likely. Medium heat cooks most foods well on ceramic. For oil, a teaspoon often covers a large pan. Spread it thin with a brush. Excess oil can bake into a sticky film, so keep the layer light.
Frequently Asked Questions
Do I need special soap?
No. A mild dish soap works great. Avoid heavy degreasers or gritty pastes.
Can I put a ceramic pan in the dishwasher?
Hand wash is kinder. Dishwashers can dull the coating over time due to heat swings and strong detergents.
How long should a deep clean take?
Most jobs finish in 20–30 minutes, soak time included.
Final Thoughts
Caring for a ceramic frying pan should feel easy. Gentle steps bring the best results. Warm water, mild soap, baking soda, and a soft sponge can solve most messes. A thin coat of oil after cleaning keeps the smooth glide.
Store your pan with care. Choose soft pads or hang it to avoid scratches. Use friendly tools like wood or silicone. Keep the heat steady to protect the coating.
I have seen tired pans shine again with this method. Yours can, too. Brew a cup of tea, play a song you love, and give your pan a short spa day. The glow will make you smile. Tomorrow’s eggs will slide across the surface with ease.

