
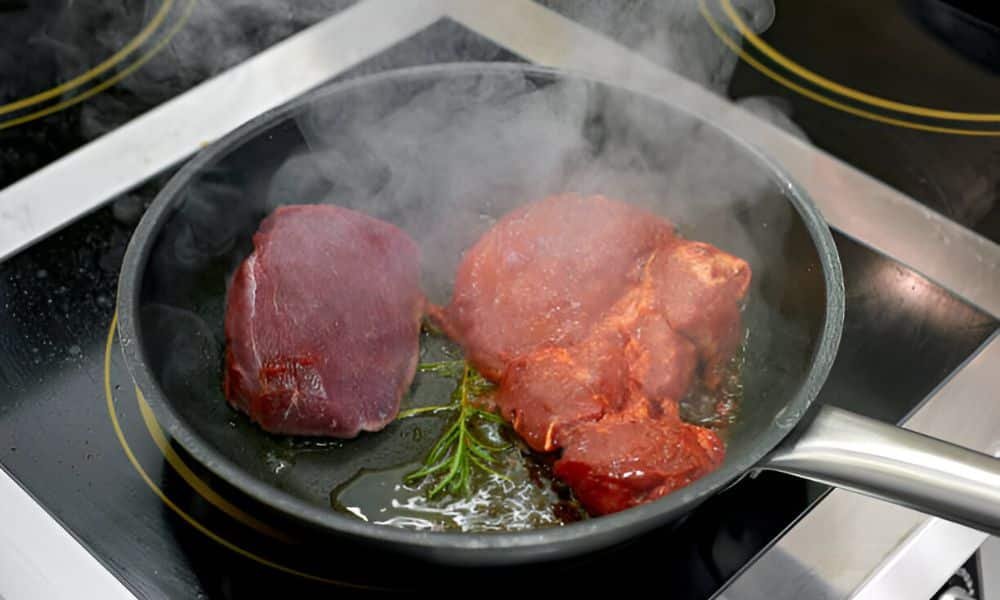
Steam rose from the pan like morning fog. I set down a venison steak and hoped for magic. It went dull and tough. Lesson learned. Lean meat needs strong heat, a dry surface, and a short cook. Do that, and flavor blooms. I’ve cooked a lot of game at home. I test methods, track results, and keep what works. Simple steps beat guesswork. This guide shows how to cook venison steak in a frying pan with ease. You’ll see the tools to use, the steps to follow, temps to trust, and quick flavor boosts. Ready to sear, rest, and slice like a pro?
What Makes Venison Different (Beginner Basics)
Venison is lean. It has little fat to buffer heat. That means it cooks fast. A hot pan gives it life. A brief sear keeps it tender and juicy.
Moisture blocks browning. Pat the steak dry on all sides. A dry surface meets hot metal and forms a strong crust. That crust holds flavor and protects the soft center.
Salt and pepper are enough. They boost the natural taste and keep the focus on the meat. Heavy rubs can mask the clean, woodsy notes. Keep the blend simple and light.
Control matters. Use a quick thermometer. Slide it into the thickest part from the side. Read, rest, and serve at the target. This keeps results steady from one cook to the next.
Tools and ingredients checklist
Tools
- Frying pan: cast iron or stainless steel
- Tongs
- Paper towels
- Instant-read thermometer
- Plate or wire rack
Oils
- High-smoke-point oil: avocado, canola, or grapeseed
Basics
- Venison steaks: 1–1.5in thick
- Kosher salt
- Black pepper
Optional add-ins
- Butter
- Garlic (smashed cloves)
- Thyme
- Lemon (zest or a small squeeze)
How to Cook Venison Steak in a Frying Pan (Step-by-Step)
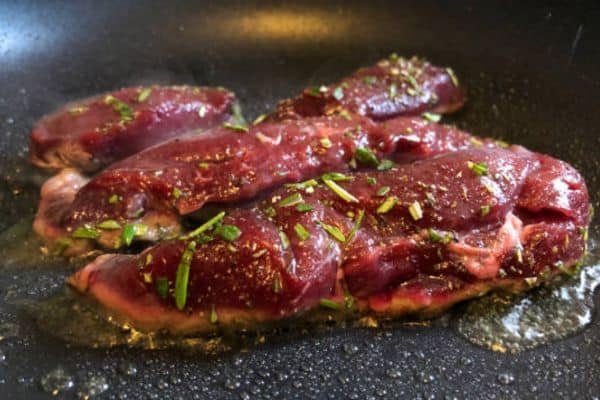
Step 1: Pat steaks dry with paper towels. Season all sides with salt and pepper. Press gently so it sticks.
Step 2: Set a heavy frying pan over medium-high heat. Let it get hot. You want steady heat and a quick sizzle.
Step 3: Add a thin film of oil. Swirl to coat. The oil should shimmer, not smoke.
Step 4: Lay the steak in the pan. It should hiss. Leave it in place so a crust can form.
Step 5: Sear the first side for 2–3 minutes. Do not nudge. Check the edge for a deep brown line.
Step 6: Flip with tongs. Sear the second side for 2–3 minutes. Press lightly for even contact.
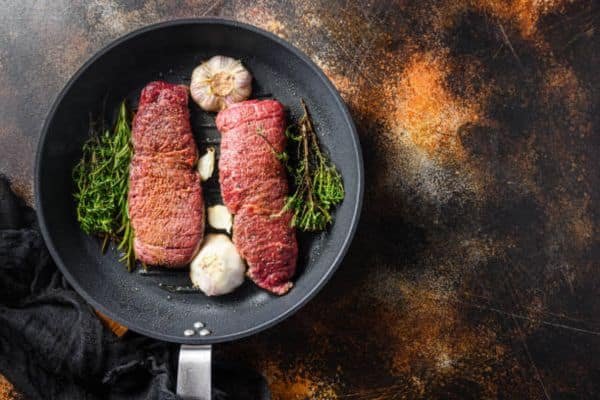
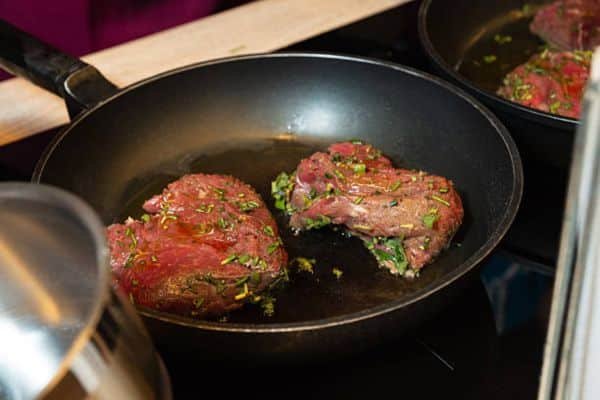
Step 7 (optional): Add butter, a smashed clove of garlic, and a sprig of thyme. Tilt the pan and baste for 30–45 seconds.
Step 8: Check the internal temperature with a thermometer. Insert from the side into the center. Aim for your target doneness.
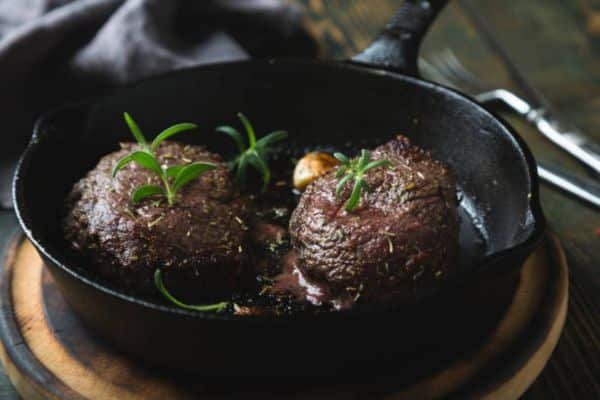
Step 9: Move the steak to a plate or rack. Rest for 5–10 minutes. This keeps the juices in the meat.
Step 10: Slice across the grain. Keep slices neat and even. Serve right away.
Doneness and Temperature Guide (Simple and Safe)
Rare to medium-rare
- Center looks pink and feels soft to the touch.
- Pull at the lower temp range for a tender bite.
- Great for lean backstrap or tenderloin.
- Check with a quick-read thermometer for accuracy.
Medium
- Center shows a warm blush and feels springy.
- Texture is firmer but still moist.
- Good for those who want less pink.
- Verify with a thermometer to stay consistent.
Safety note
- Follow local food safety guidance for game meat.
- Guidelines in many regions call for higher internal temps for safety.
- Choose the target that fits health needs and taste.
Thermometer basics
- Insert from the side into the thickest part.
- Avoid bone and big seams of tissue.
- Take the reading fast, then rest the steak.
- Expect a small rise in temp during the rest.
Timing by thickness (quick reference)
- 1in steaks: sear about 2–3 minutes per side on a hot pan. Keep the sizzle steady. Check with a thermometer, then rest.
- 1.25–1.5in steaks: sear about 3–4 minutes per side. Manage heat so the crust browns, not burns. Verify temp and rest.
- Very thick cuts: build a deep crust on the stove, then move to a hot oven to finish to target temp. Rest before slicing.
Pro tips from experience
- Dry is key. Pat steaks well on all sides. Moisture blocks browning and softens the crust.
- Less oil, more heat. Use a thin sheen of high-heat oil. Let the pan get hot so the sear starts at once.
- Do not crowd the pan. Leave space so steam can escape. Browning needs dry, direct contact.
- Add butter late. It burns fast at high heat. Drop it in at the end for aroma and gloss.
- Rest the meat. Set it on a plate or rack for 5–10 minutes. Juices settle and slices stay moist.
- Slice across the grain. Short fibers mean soft bites and clean edges.
- Finish with a light sprinkle of salt or lemon zest. It brightens flavor and lifts the crust.
Common mistakes and easy fixes
- Pale crust
Cause: pan not hot, or steak damp.
Fix: preheat longer. Pat the meat very dry. Use a thin sheen of oil, not a pool. - Burnt outside, cool center
Cause: heat too high for the steak’s thickness.
Fix: lower the heat a notch. Sear both sides, then finish in a hot oven to target temp. - Tough slices
Cause: cut with the grain.
Fix: rotate the steak and slice across the grain. Keep slices even and clean. - Greasy taste
Cause: too much oil in the pan.
Fix: use a light film to coat the surface. Let excess drip before plating.
Gear talk: best pans for searing
Cast iron
- Top crust and deep browning.
- Holds steady heat, even after a cold steak hits the surface.
- Great for thick cuts and repeat batches.
Stainless steel
- Fast response to heat changes.
- Strong browning with proper preheat and a thin oil film.
- Lighter than cast iron, easy to maneuver.
Nonstick
- Better for gentle heat and delicate foods.
- Not ideal for hard sears or high temps.
Related kitchen note: best small fry pan for eggs
- Best small fry pan for eggs Go with an 8-inch nonstick pan. It’s the sweet spot for one to two eggs and a quick omelet. It heats fast, cleans easy, and stores well.
- Key features to seek: a slick, durable coating; even heat across the base; low, flared sides for easy slide-out; light weight for one-hand control; a comfy handle that stays cool.
- Use and care: cook on low to medium heat; add a dab of butter or a small slick of oil for release; use silicone or wood tools; hand-wash with a soft sponge; avoid aerosol sprays that gum up the coating; store with a pan protector.
- Contrast with steak gear: use a heavy pan for steak to build a deep crust; keep the small nonstick pan for eggs, crepes, and delicate foods. Each tool shines in its lane.
FAQs
Can I marinate venison?
Yes. Keep it short, 30–90 minutes. Pat the meat dry before searing so the crust forms well.
Salt ahead or right before?
Either works. The key is a dry surface at sear time. Blot with paper towels if needed.
Can I use only butter?
Use a high-heat oil to sear. Add butter at the end for aroma and gloss.
Is resting needed?
Yes. Rest 5–10 minutes on a plate or rack. Juices settle, slices stay moist.
Conclution
Great steak comes down to care and calm. Dry the meat well. Heat the pan hot. Use a light touch with oil. Sear fast, then rest. Slice across the grain. Small steps, big payoff. The crust turns deep and crisp. The center stays tender and bright.
Keep the setup simple. A heavy pan, a quick-read thermometer, and clean seasoning do the work. Butter and herbs add a warm finish. A squeeze of lemon lifts the plate. Repeat this flow and it becomes second nature.